
Level 82
HARDHow to solve Sand Loop level 82? Get instant solution for Sand Loop 82 with our step by step solution & video walkthrough. Sand Loop 82 tips and guide.
Play Sand Loop Now
Experience the puzzle challenge firsthand
Game Screenshots
Sand Loop Level Guides
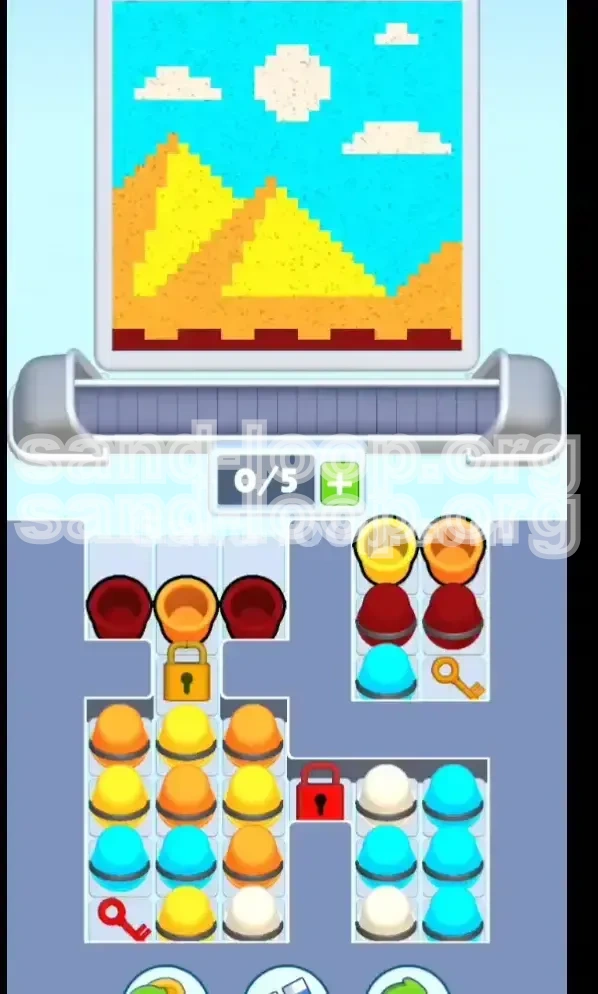
Level 82 Overview: The Desert Architect
Welcome to the Sand Loop Level 82: The Pyramids Challenge. This stage is a significant departure from the high-speed ice levels you may have encountered previously. Instead of racing against a melting timer, you are facing a strict test of resource management and spatial reasoning. This is a Logic Lock level where the order of operations is more critical than the speed of your execution.
The visual goal is to paint a pixel-art scene of the Egyptian Pyramids against a clear sky. However, the challenge lies in the "Key Economy." Essential resources—specifically the sand needed for the sky and clouds—are locked behind barriers that can only be opened by completing the pyramid sections first. If you mismanage your sand supply early in the level, you will find yourself unable to finish the upper sections of the painting.
The Core Mechanics
- Pixel Perfection: Unlike fluid levels, this requires precision. The "Sun Side" (Yellow) and "Shadow Side" (Orange) of the pyramids must be distinct.
- Vertical Dependency: You literally build from the ground up. The upper canvas is inaccessible until you clear the bottom supply rows.
- Lock and Key: There are two major locks (Red and Gold) that gatekeep your color palette. You cannot access White or Cyan until you physically clear the debris covering the keys.
Strategic Approach
- Bottom-Up Logic: Do not aim for the sky first. The game forces you to paint the ground and pyramids to unlock the sky resources.
- Conservation is Key: You have exactly enough Yellow and Orange sand to complete the pyramids with zero margin for error. Spilling sand on the wrong area will force a restart.
- Timing Windows: You must learn to leave empty gaps on the conveyor belt to preserve the clean lines of the sky between pyramids.
Visual Breakdown
- Ground (Dark Red): The foundation layer. Must be laid first to clear the bottom row of the canvas.
- Shadow (Orange): Used for the left face of all three pyramids.
- Sunlight (Yellow): Used for the right face of all three pyramids.
- Atmosphere (Cyan): The massive sky background filling the upper 60% of the canvas.
- Clouds (White): Three distinct clusters floating in the Cyan sky.
Difficulty Analysis
- Complexity: High. Requires managing 5 different colors with strict separation.
- Time Pressure: Low to Medium. The threat here isn't time, it's running out of specific sand colors.
- Precision Requirement: 95%. You must avoid "bleeding" colors into the wrong sections.
Primary Objectives and Success Criteria
To achieve a perfect score on Level 82, you must move beyond simply "filling the canvas." You need to execute a specific sequence of actions that unlocks the board while maintaining color purity. Below are the critical success factors for this level.
Establish the Foundation
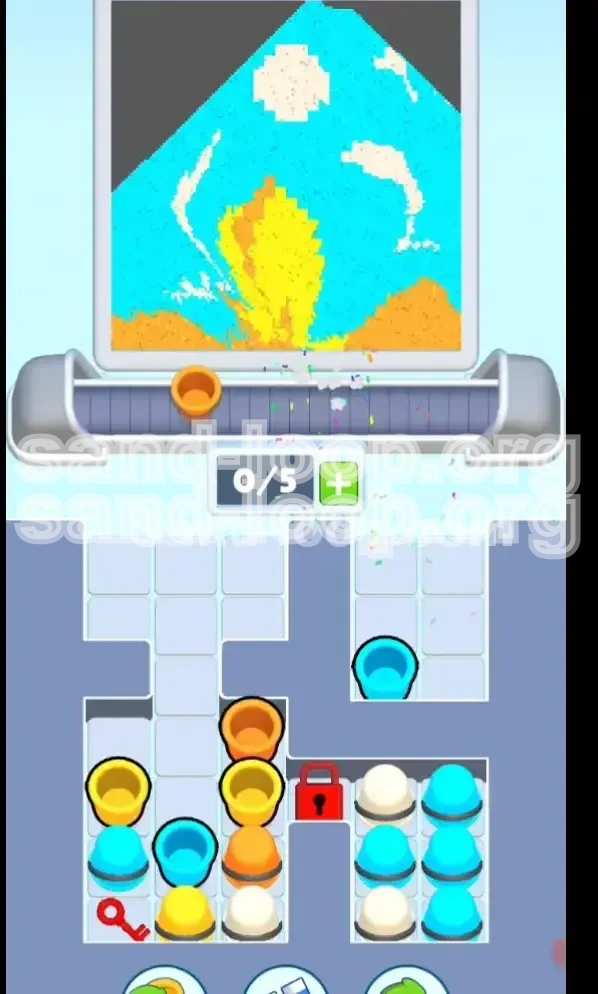
Your very first objective is to clear the bottom row of the grid. The Dark Red sand serves a dual purpose: it acts as the ground in the artwork and, more importantly, clears the bottom supply row of the supply grid. If you fail to place the Red sand accurately, you will block subsequent supplies from reaching the conveyor belt, effectively soft-locking your run.
Execute the Shade Split
The defining characteristic of this level is the lighting mechanic. You are not just painting triangles; you are painting lit triangles. You must discipline yourself to only dispense Orange sand when the nozzle is on the left side of the pyramid and Yellow sand when it is on the right. Mixing these up not only looks wrong but wastes the specific sand piles you need to clear to reach the keys.
Unlock the Supply Chain
Hidden in the supply grid are two keys: A Gold Key buried in the top right and a Red Key buried in the bottom left.
- Gold Key: Unlocks the central barrier, giving you access to the main reservoir of Orange and Yellow sand.
- Red Key: Unlocks the right-side barrier, releasing the White and Cyan cups needed for the finale.
Achieve Sky Separation
The final 40% of the level involves painting the sky. The challenge here is "Gap Management." The pyramids are separated by gaps of blue sky. You must learn to stop the flow of sand (create a gap on the conveyor belt) exactly when the nozzle transitions from the top of one pyramid to the empty space beside it. Failure to do this will result in yellow "sky" or orange "clouds," ruining the score.
Step-by-Step Walkthrough: The Pharaoh's Protocol
This section provides the exact sequence of moves required to beat Level 82. Follow these steps in order to avoid getting stuck with a locked board.
Phase 1: The Groundwork (Dark Red)
Goal: Clear the bottom row and prepare the belt.
As soon as the level starts, identify the Dark Red cups. There are typically two located at the top left and two at the top right of the initial grid.
- Load the Belt: Immediately drag the Dark Red cups onto the conveyor belt.
- Positioning: Space them out evenly. You want a continuous line of red at the very bottom of the canvas.
- Hold Other Colors: Do NOT touch any Yellow or Orange cups yet. Placing them too early will result in sand falling onto the "ground" area where the Red sand belongs.
- Verification: Ensure the bottom row of the canvas is fully Red. This triggers the collapse of the bottom supply row, revealing more resources.
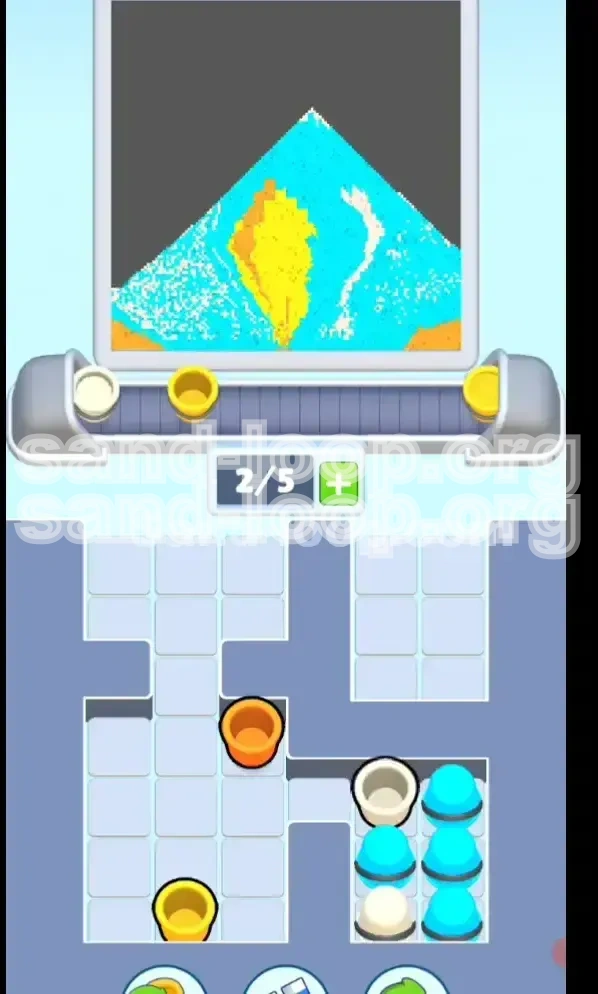
Phase 2: The Gold Rush
Goal: Unlock the central sand reservoir.
With the bottom clear, look at the Top Right cluster of cups. You will see a stack containing Yellow, Red, and Cyan cups. Buried within or underneath this stack is the Gold Key.
- Clear the Path: You must process the cups in this top-right cluster to dig down to the key.
- Use Caution: As you clear these, the nozzle will likely be moving over the right side of the canvas. Use the Yellow cups from this cluster to start painting the "Sun Side" (right face) of the pyramids.
- Retrieve the Key: Once the Gold Key is free, ensure it enters the conveyor stream.
- The Unlock: When the key hits the Gold Lock (usually in the center column), the main left-side reservoir will open. This is your "lifeline" of sand.
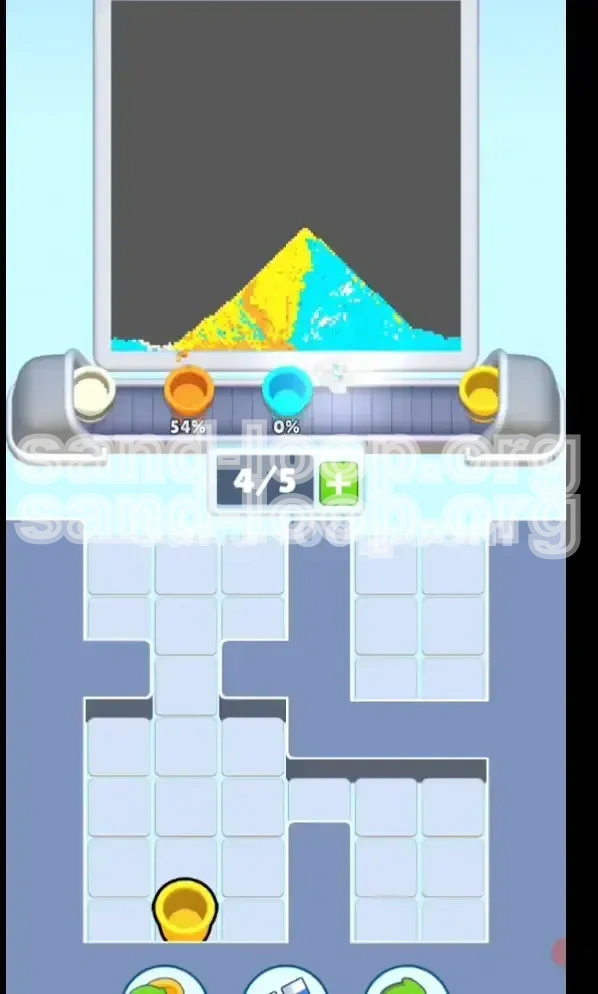
Phase 3: Constructing the Pyramids (The Shade Discipline)
Goal: Paint the pyramids using the new supply.
Now that the left-side reservoir is open, you have a large, alternating supply of Orange and Yellow rows. This is the most dangerous part of the level.
- Left Face (Orange): Watch the nozzle. When it is on the left side of a pyramid triangle, tap the Orange cups.
- Tip: The supply rows are stacked (e.g., Row 1 is Orange, Row 2 is Yellow). You may need to skip taps to let the wrong color pass if the nozzle isn't ready for it yet.
- Right Face (Yellow): As the nozzle swings to the right side of the pyramid, switch to tapping the Yellow cups.
- Managing Gaps: This is crucial. When the nozzle finishes the right face of a pyramid and moves into the empty sky gap to the right, STOP TAPPING. Let the conveyor belt run empty until the nozzle is over the next pyramid's left face. If you don't do this, you will paint the sky Yellow.
- Target Lock: Continue this Orange-Yellow rhythm for all three pyramids. As you deplete these rows, you will eventually expose the Red Key at the bottom left of the grid.
Phase 4: The Atmospheric Finale (Cyan and White)
Goal: Fill the sky and place the clouds.
Once the Red Key (from the bottom left) hits the belt and unlocks the Red Lock on the right, the White and remaining Cyan cups are released.
- Sky Fill (Cyan): With the pyramids done, the nozzle is moving over the empty upper canvas. Begin dumping the Cyan cups. Since the pyramids are already painted, you can be fairly aggressive here to fill the large blue background.
- Cloud Placement (White): Intersperse the White cups into the flow.
- Timing: The clouds are located at specific heights in the upper portion of the sky. You need to time the release of White cups so they drop when the nozzle is passing these specific horizontal coordinates.
- Technique: If you have excess Cyan, dump it first to raise the "floor" of the sky, then place the White clouds on top of the blue background for a cleaner look.
- Final Check: Ensure no Orange or Yellow "bleed" remains in the sky. The level ends when the canvas is 100% filled with the correct colors.
Color Order and Processing Logic
Success in Level 82 is dictated by the precise order in which you process your color palette. Processing a color too early can lead to "cross-contamination," where a color ends up in a section of the painting where it doesn't belong, forcing you to waste other colors to cover it up.
Priority 1: Dark Red (The Enabler)
Dark Red is your #1 priority because it is the only color that clears the bottom row of the supply grid.
- The Logic: You cannot access the keys buried in the lower rows until the top rows are cleared.
- The Risk: If you process Yellow/Orange before Red, you might paint the bottom of the canvas (the ground) yellow/orange. You would then have to use Red to cover it, which is a waste of resources.
- Target Area: The absolute bottom 5% of the canvas.
Priority 2: Orange and Yellow (The Structure)
These are processed simultaneously, but strictly based on the nozzle's X-axis position.
- Left Hemisphere (Nozzle X < 50%): Orange Only.
- Right Hemisphere (Nozzle X > 50%): Yellow Only.
- The Transition: This is the hardest part. When the nozzle moves from the apex of the pyramid to the side, you have a split second to switch taps. If you are slow, the color will bleed onto the wrong face.
Priority 3: Cyan (The Background)
Cyan is the "filler" color. It is abundant and forgiving, but it is time-dependent.
- Timing: Cyan must wait until the pyramids are fully formed. If you add Cyan too early, it will mix with the Orange/Yellow at the edges of the pyramids, creating a muddy green/brown outline.
- Volume: You will need roughly 60-70% of your total sand volume to be Cyan to fill the sky. Don't worry about running out; worry about placing it too early.
Priority 4: White (The Detail)
White is the most resource-scarce and position-critical color.
- Constraint: You usually only have enough White cups for the three specific cloud clusters. You cannot "paint" with white broadly; you must place it surgically.
- Order: White comes last. It sits on top of the Cyan sky. If you drop White before Cyan is laid down, it may get buried or "eaten" if other colors are still processing.
The "Golden Rule" of Mixing
Never mix vertical layers. In Sand Loop, the last color dropped is the color seen.
- Example: If you accidentally drop Orange on a "Sky" gap, do not try to fix it with more Orange. You must wait until the end and cover that mistake with Cyan. This emphasizes why Phase 1 (Red) is critical—mistakes at the bottom force you to waste paint later.
Advanced Tactics and Speed Run Strategies
Once you have beaten the level and understand the logic, you can optimize your playstyle for faster times and higher efficiency. These tips are for players looking to perfect their score or achieve a speedrun rank.
Conveyor Belt Buffering
This is a pro technique for "Gap Management." Instead of waiting for the nozzle to move to a safe spot before stopping the tap, you can physically create a gap on the belt.
- The Move: Drag a cup to the far right of the belt, then drag the next cup to the far left. This creates a time delay between when the first cup drops and the second cup reaches the dispenser.
- The Benefit: This allows you to tap continuously to clear your hand/clutter, while the belt mechanics ensure the sand drops at the correct intervals to preserve the sky gaps between pyramids.
The "Red Key" Pre-Load
The most common slowdown occurs at the transition between Phase 3 and Phase 4 (Unlocking the Red Key).
- Optimization: While you are painting the last few rows of the pyramids (the tip of the triangle), keep an eye on the Red Key's position in the grid.
- Strategy: Try to time the depletion of your Yellow/Orange stacks so that the Red Key falls onto the belt exactly as you finish the last pyramid stroke. This eliminates the "dead air" time where the nozzle is moving over an empty canvas while you wait for the key to unlock the White/Cyan supply.
Batch Processing for Clouds
Placing clouds one by one is slow and risky.
- Strategy: Wait until you have 2 or 3 White cups available. Load them onto the belt in quick succession, but spaced out.
- Execution: If the clouds are vertically aligned (which they often are in this pixel art), you can line up the White cups to hit the same column, or adjacent columns, in one fluid motion of the nozzle across the top of the screen.
Sacrificial Sand Tactics
Sometimes, wasting a little bit of sand saves a lot of time.
- The Scenario: You have a single drop of Yellow left on the belt, but the nozzle is moving over a "Shadow" (Orange) zone.
- The Play: If you have an abundance of Orange, it is sometimes faster to just dump the Yellow into an already-finished Yellow area (wasting it) to get it off the belt, rather than trying to time it perfectly or letting it clog the flow. Keep the belt moving!
Economy of Movement
- Mouse Efficiency: Minimize the distance your cursor travels. Keep your focus near the "Next Cup" spawn area and the conveyor belt entry point.
- Prediction: Don't watch the sand fall. Watch the next cup. By the time the sand hits the canvas, it's too late to change it. Your eyes should always be 3 seconds ahead of the action, looking at what color is coming up next and planning your tap rhythm accordingly.