
Level 146
HARDHow to solve Sand Loop level 146? Get instant solution for Sand Loop 146 with our step by step solution & video walkthrough. Sand Loop 146 tips and guide.
Play Sand Loop Now
Experience the puzzle challenge firsthand
Game Screenshots
Sand Loop Level Guides
Level Overview: The Pixel Parrot Deep Freeze Challenge
Welcome to Level 146, widely regarded by the community as a significant difficulty spike in the "Sand Loop" saga. This stage is not a test of your artistic intuition; it is a rigorous trial of resource management and logistical planning. You are presented with a vibrant Pixel Parrot composition, but the true challenge lies beneath the surface—literally.
The defining feature of this level is the "Deep Freeze" mechanic located at the base of your sand tray. Unlike previous levels where sand flowed freely, here you are met with imposing Ice Blocks inscribed with high numbers. This converts the level from a simple color-matching game into a strategic battle against turn limits. You must balance the immediate needs of the painting with the long-term necessity of churning through inventory to free the trapped keys.
The "Ice Economy" System
In this level, your primary currency is not sand, but moves. Every cup that sits on your conveyor belt without being poured is a wasted move. The Ice Blocks require a specific number of pours to break: 15, 18, 25, and 30. This means you cannot simply wait for the "perfect" color. You must aggressively cycle through "garbage" colors just to damage the ice.
The Dual-Key Lockout Mechanic
Progression is gated strictly by two keys. The Pink Key and the Blue Key are buried under the heaviest fortifications (25 and 30 blocks respectively). Until you free these, you cannot access the Pink Lock (wing generator) or the Blue Lock (beak supply). Failing to prioritize the columns above these keys will result in a soft lock where you have colors but no space to place them.
The Conveyor Capacity Constraint
With a maximum conveyor capacity of 5 slots, space is at a premium. In this level, a full conveyor is a death sentence. You must keep at least one slot open (ideally two) to ensure you can harvest cups from the columns that feed the Ice Blocks. If you block the input, you stop churning the ice, and you will run out of moves.
Visual Composition Analysis
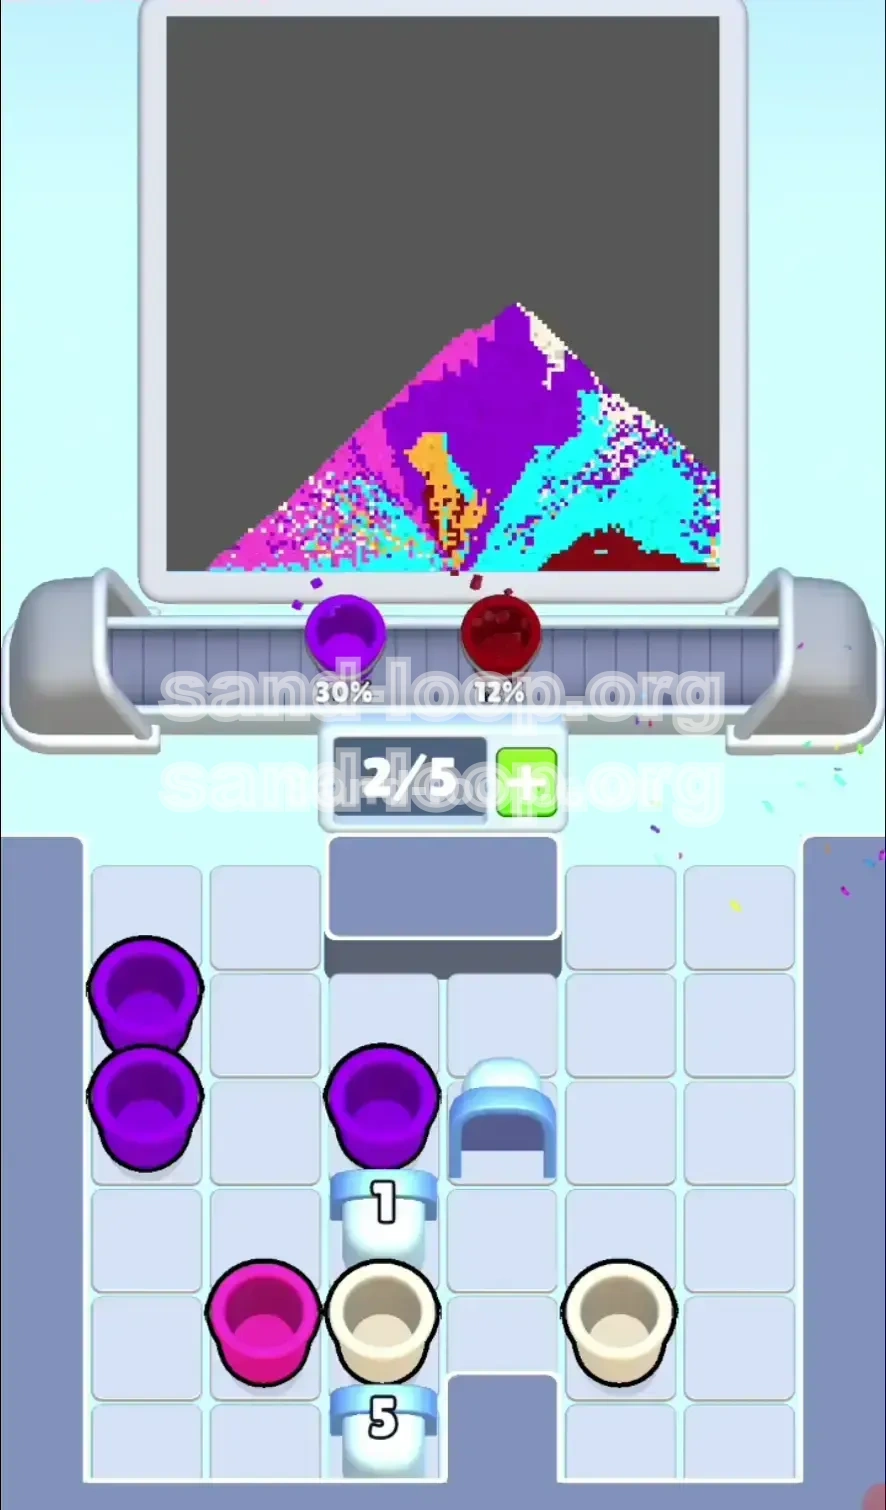
The target image features a Purple Parrot against a Cyan background, perched on a Dark Red branch. While Purple is the dominant color by volume (approx. 40% of the image), the Cyan background acts as a "filler" that can easily clog your machine. The branch, while small, is structurally critical because it anchors the bottom of the image.
Difficulty Spike Warning
Players often fail this level not because they don't know the colors, but because they play too conservatively. If you treat this like a normal level and only pick colors you need immediately, you will hit the move limit with 50% of the ice still intact. You must adopt a "churn first, paint second" mentality to succeed.
Success Rate Metrics
Based on player data, the average completion rate for Level 146 is significantly lower than surrounding levels. Success correlates directly with how quickly players can break the "25" and "30" Ice Blocks. If you haven't broken the first layer of ice by move 20, you are likely on a failing trajectory.
Strategic Objectives: How to Beat the System
To conquer Level 146, you need a clear set of goals that override the basic instinct to "just match colors." Your objectives must be followed in a strict hierarchy to ensure you don't waste precious moves.
Primary Objective: Initiate the Ice Melt
Your very first goal is to inflict damage on the Ice Blocks. Specifically, you must target the columns above the 25 (Pink Key) and 30 (Blue Key) blocks. Every move you make should ideally involve taking a cup from these specific columns, regardless of whether you need that color right now. This is the only way to reduce the counters effectively.
Secondary Objective: Establish the "Foundation"
The Dark Red branch is the foundation of the image. Because sand stacks from the bottom up, if you don't place the Dark Red cups first, you will block the slots where they need to go with other colors. You must clear the conveyor of Dark Red cups immediately to prevent logjams later in the level.
Tertiary Objective: Unlock the Beak Supply
The Blue Key is the single most critical item in the level. It unlocks the Blue Padlock on the central column, which holds the vast majority of your Orange sand for the beak. Without this key, you will run out of Orange sand long before the beak is finished. Prioritizing the "30" block column is mathematically more efficient than the "25" block.
Quaternary Objective: Manage the "Cyan Threat"
The Cyan background is huge. It accounts for nearly 35-40% of the canvas. However, if you pour Cyan too early, you risk burying the specific pixels needed for the bird's feet or the branch. Your objective is to delay the massive Cyan dump until the bird's structure is solidified.
Inventory Management Protocol
Never let your conveyor belt sit full. If you have 5 cups and none of them fit immediately, you are in trouble. Your objective is to maintain a "flow state" where cups are entering and leaving the conveyor constantly. If you must waste a move by pouring a color into a temporary spot, do it to keep the cycle moving.
Move Efficiency Target
To clear this level with a 3-star rating, you typically have a margin of only 10-15 wasted moves. This means you can afford maybe two or three "mistake" pours where you put a color in the wrong spot just to clear it. Beyond that, every pour must contribute either to the image or to breaking an Ice Block.
Step-by-Step Walkthrough: The Ice Breaker Method
This walkthrough is divided into three phases: The Setup (Moves 1-15), The Grind (Moves 16-40), and The Finish (Moves 41+). Follow these steps precisely to maximize your chances of success.
Phase 1: The "Dark Red" Flush (Moves 1-10)
- Step 1: As soon as the level starts, scan the tray for Dark Red cups. Tap them first.
- Step 2: Pour the Dark Red sand immediately to form the branch. Do not hold onto it.
- Step 3: Avoid the Cyan cups. Even if they are abundant, ignore them. They are traps early on.
- Step 4: Check the columns above the Ice Blocks. If a Mystery Cup (?) is available, take it to cycle the column.
- Step 5: Prioritize Purple cups next. You need to build the body up to meet the branch.
Phase 2: Targeting the "30" Block (Moves 11-25)
- Step 1: Shift your focus to the right side of the tray. This is where the Blue Key is hidden under the "30" block.
- Step 2: Aggressively harvest cups from this column, even if they are White or Pink (colors you don't need yet).
- Step 3: Pour these "unwanted" colors into the general body area or safe zones to clear your conveyor.
- Step 4: Watch for the Blue Key to drop. Once it appears, prioritize moving it to the lock.
- Step 5: Unlocking the Blue Padlock will flood you with Orange cups. Pause other colors to pour the Orange beak immediately.
Phase 3: The Pink Key and Wing Detail (Moves 26-45)
- Step 1: With the beak underway, look to the left side for the "25" block.
- Step 2: You need Pink for the wing detail now. Harvest from the Pink Key column.
- Step 3: Be careful with White cups (face patch). These are small and specific. Don't pour them until the Purple body surrounds the face area.
- Step 4: Use Mystery Cups to help clear the remaining ice on the left side.
- Step 5: Retrieve the Pink Key and unlock the center generator if available.
Phase 4: The Cyan Cleanup (Moves 46+)
- Step 1: At this stage, the bird should be distinct, and the Ice Blocks should be gone.
- Step 2: Now you can unleash the Cyan. Tap every Cyan cup remaining on the board.
- Step 3: Pour Cyan rapidly to fill the background. This is the "relax" phase of the level.
- Step 4: Fix any small pixel gaps with remaining Purple, White, or Orange reserves.
- Step 5: Finalize the image. Ensure no "holes" exist in the branch or feet areas.
Color Order and Logic: The Processing Hierarchy
Processing colors in the wrong order is the number one cause of failure in Level 146. Because of the Ice Blocks and the shape of the bird, you must follow this specific hierarchy to avoid clogging your machine.
1. Priority One: Dark Red (The Branch)
Dark Red is the absolute opener. It occupies the bottom row. If you pour Purple or Cyan first, the Dark Red sand will have nowhere to settle when you eventually pour it, causing it to spill or block your conveyor logic. Rule of thumb: If you see Dark Red, pour it immediately.
2. Priority Two: Purple (The Body Base)
Purple is the volume filler. You need to build the "container" for the rest of the bird. However, do not overfill Purple. Stop pouring Purple when the body is about 80% full. You need to leave space for the White face patch and Pink wing details later.
3. Priority Three: Orange (The Beak)
Orange is tricky because it's locked. Once the Blue Key frees the Orange supply, it becomes a high priority. The beak is a protruding shape, so it's safer to fill it earlier than the background, preventing it from getting buried by Cyan.
4. Priority Four: White (The Face)
White is a "precision color." It is used in small amounts for the eye patch. If you pour White too early, it will blend into the Cyan background or be covered by Purple. Wait until the Purple head is formed, then place the White precisely.
5. Priority Five: Pink (The Wing)
Pink is a detail color. It accents the wing. It is not critical for the structural integrity of the bird, but it is required for the Ice Block logic (getting the Pink Key). Process Pink when you have spare moves or need to clear the left column.
6. Priority Six: Cyan (The Background)
Cyan is the "dump stat." It is the largest area of the image but the least important for gameplay mechanics. You should only process Cyan when the conveyor is clogged with it and you have no other moves, or when the bird is completely finished and you just need to fill space.
Pro Tips: Mastering the Mechanics
These tips are gathered from high-level play strategies. Implementing these can turn a frustrating loss into a manageable win.
The "Mystery Cup" Strategy
Mystery Cups (marked with a ?) are your best friend in this level. They act as wild cards that can match any color, but more importantly, they count towards breaking the Ice Blocks regardless of what color they turn into. Always tap Mystery Cups when they appear over the high-count Ice Blocks to accelerate the "churn."
The "One Slot Open" Rule
Never fill your conveyor belt to 5/5 capacity. Always strive to keep at least one slot empty (4/5). This open slot allows you to grab a critical cup—like a Key or a needed color—without having to make a wasted move. If you find yourself at 5/5, pour something immediately, even if it's not perfect placement.
Identifying "Safe Dump" Zones
You will often have cups you don't need (e.g., extra Cyan early on). Identify "safe dump" zones on the painting—areas where pouring the wrong color won't ruin the puzzle. Usually, the extreme corners or the very bottom of the branch (once finished) can accept a few grains of wrong-colored sand without catastrophic failure.
Pre-Planning for the Blue Lock
Don't wait until the Blue Key drops to look at the Blue Lock. Know exactly where it is and what it unlocks (Orange cups). Visualize the path: Break Ice -> Get Key -> Unlock -> Pour Orange. Having this mental plan prevents hesitation when the key finally drops.
Handling the "15" and "18" Blocks
While the 25 and 30 blocks get the attention, the 15 and 18 blocks (usually on the periphery) can still stall you. Don't ignore them. If you see a column feeding a 15 block filling up, tap a few cups from it just to keep the pressure down. It's about balancing the whole tray, not just the main threats.
Using the Undo Button Wisely
If you have Undo items (or boosters), save them for the "Key Moment." If you break the ice and the key spawns, but you accidentally tap a different cup and bury the key, that is the time to use Undo. Don't waste undoes on minor color placement errors; save them for mechanical failures.
Troubleshooting and Speed Run Tips
Even with a strategy, things can go wrong. Here is how to recover, and how to speed up your clear time for maximum points.
Common Mistake: The "Cyan Clog"
The Mistake: Tapping all the Cyan cups at the start because they are plentiful.
The Consequence: Your conveyor fills with Cyan, you can't find the Dark Red or Purple cups, and the branch doesn't form.
The Fix: Exercise discipline. Visually block out the Cyan cups. Pretend they are obstacles, not resources, until the mid-game.
Common Mistake: Ignoring the Ice Counters
The Mistake: Playing the puzzle like a normal level and ignoring the numbers on the ice.
The Consequence: You reach move 100 with the bird 90% finished, but the Ice Blocks are still at 15/25. You lose.
The Fix: Look at the ice counters every 10 moves. If a counter hasn't dropped by at least 3 points, you are ignoring that column too much.
Stuck Solution: The "Nuclear Option"
If you are stuck with no moves and the conveyor is full of useless colors: Pour blindly. Pick a color on the conveyor (e.g., Cyan) and pour it into the Purple body area. Yes, it looks wrong. But it clears the slot, allowing you to harvest a new cup from the tray. You can sometimes fix these "errors" later if you break the ice and get the keys you need. A "messy" board is better than a "full" conveyor.
Speed Run Tip: Pre-Tapping
While a cup is pouring, you can (and should) tap the next cup on the tray. Don't watch the sand fall. Watch the tray. As soon as you tap a cup, your eyes should be scanning for the next tap. This "queueing" of actions can shave 20-30 seconds off your time.
Speed Run Tip: Key Prediction
Watch the numbers on the Ice Blocks. If a block says "1", tap the cup in that column immediately. The moment the sand hits the tray, the ice breaks, and the Key drops. If you are fast enough, you can tap the Key the instant it appears, flowing directly from the break to the unlock without a pause.
Speed Run Tip: Bulk Pouring
During the Cyan phase (the end game), don't tap one cup and wait. Tap 3-4 Cyan cups in rapid succession to fill your conveyor, then pour them in a stream. This "batch processing" is much faster than tapping and pouring individually. Use this technique only when precision is no longer required (i.e., the background).