
Level 374
HARDHow to solve Sand Loop level 374? Get instant solution for Sand Loop 374 with our step by step solution & video walkthrough. Sand Loop 374 tips and guide.
Play Sand Loop Now
Experience the puzzle challenge firsthand
Game Screenshots
Sand Loop Level Guides
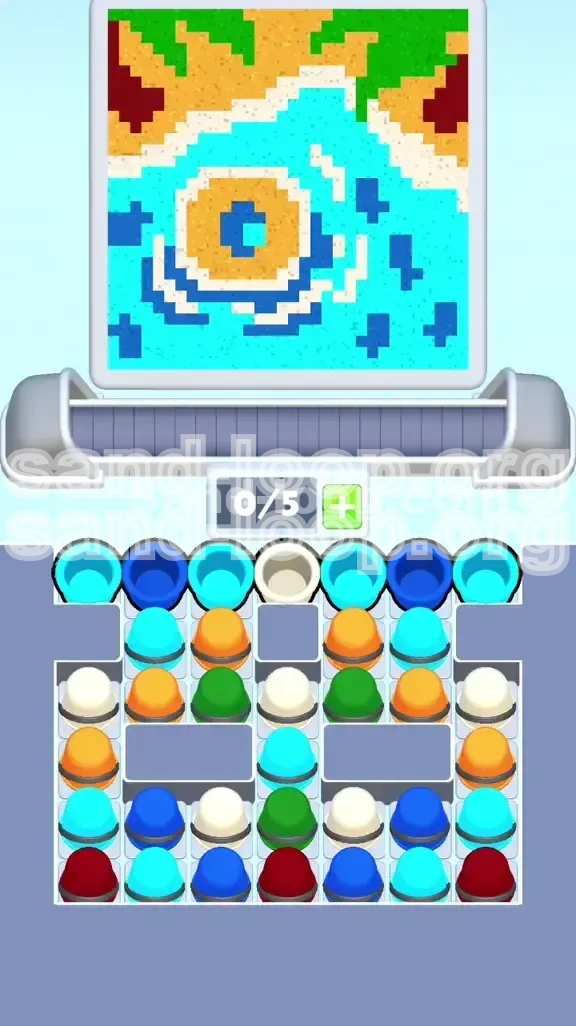
Level Overview: The "Desert Island" Strategy
Level 374, often referred to as the "Desert Island," is a deceptive stage that prioritizes logic over reflexes. Unlike standard levels where rapid tapping wins the day, this stage is a resource management puzzle. The visual features a high-contrast aerial view of a sandy island surrounded by turquoise waters. The challenge is not the painting itself, but the supply tray mechanics. You are faced with a crowded tray arranged in a "U-Shape" trap, where the colors you need immediately (Cyan and Sand) are buried beneath colors that are dangerous to use early (White and Green).
The primary threat to your success is the limited 5-slot conveyor belt. If you prioritize the wrong colors, your belt will clog with unusable paints, forcing a deadlock that can only be resolved by restarting. This guide is designed to help you navigate the supply tray geometry, optimize your belt usage, and achieve 100% completion.
Clear Objectives for Completion
To beat Level 374, you must move beyond simply filling the meter. You need a structured approach to manage the limited conveyor space and the tricky supply tray.
1. Master the 5-Slot Conveyor Belt
Your conveyor belt is your most limiting factor. With only 5 available slots, clogging is a constant threat. Your objective is to maintain a fluid flow of colors, ensuring that the next required color is always on the belt without blocking future needs.
2. Execute the "Dig Down" Strategy
You cannot simply tap cups from top to bottom. The objective is to selectively clear the top layers of the supply tray to access the essential Cyan and Sand cups buried underneath, while deliberately ignoring high-risk colors like White and Green until the correct moment.
3. Maintain Accuracy Percentage
Random tapping leads to "color bleeding," where Sand pours into Water or White contaminates the Ocean. Your goal is to switch colors precisely when the dispenser transitions between zones to keep your accuracy score above 95%.
4. Avoid the "Soft Lock"
The ultimate fail state is filling your belt with Green or Maroon cups while the dispenser is still painting the water at the bottom of the canvas. Completing the level means recognizing these trap colors and leaving them buried until the endgame.
Color Order: The Processing Hierarchy
Success in Level 374 depends entirely on processing colors in a strict sequence. Releasing colors out of order is the most common cause of failure. Below is the optimal processing order to keep your conveyor belt fluid and your painting accurate.
1. Priority 1: Cyan (The Water Base)
Volume: High (40%)
Timing: Immediate Start
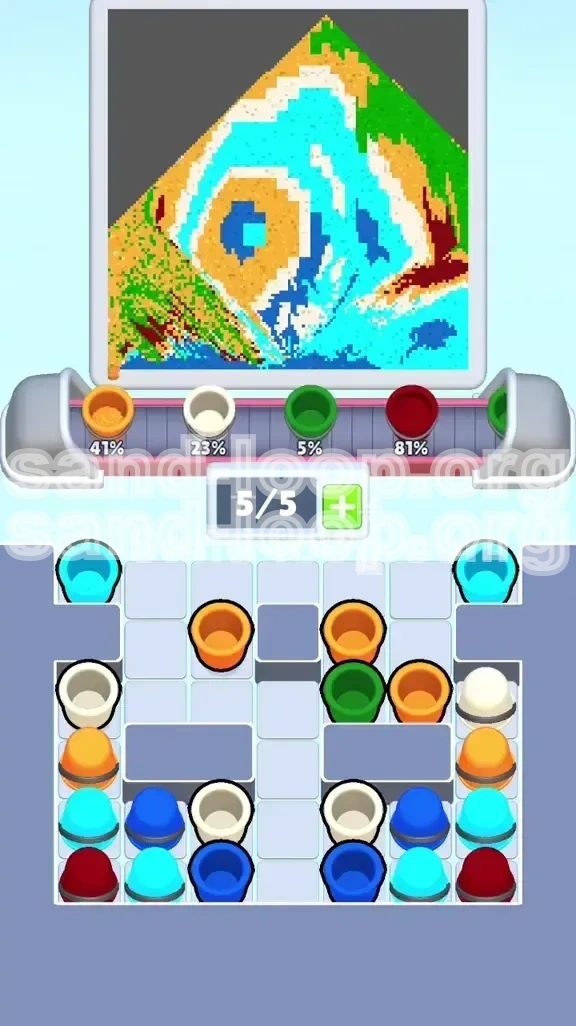
Cyan represents the deep ocean surrounding the island. It forms the background of the entire image. You must load Cyan cups first and keep a steady stream of them ready. Because the bottom of the canvas is 100% water, having Cyan on the belt immediately is non-negotiable.
2. Priority 2: Sand/Orange (The Island Core)
Volume: High (35%)
Timing: Immediate Start (after initial Cyan)
The island is essentially a sandy donut shape. You need Sand almost as much as Cyan, but it must be alternated with Cyan to form the shape. If you queue two Sand cups back-to-back, you risk the sand pouring into the ocean zones, ruining your accuracy percentage.
3. Priority 3: Dark Blue (Depth Details)
Volume: Low (5%)
Timing: Early to Mid Game
These are scattered patches in the water, not contiguous blocks. You should only tap Dark Blue when the dispenser is directly approaching a dark patch. Never queue them in advance; they are "filler" cups that can clog your belt if held too long.
4. Priority 4: White (The Wave Foam)
Volume: Medium (10%)
Timing: Mid Game ONLY
White is the most dangerous color in this level. The foam is a thin, squiggly line separating the sand from the cyan water. If you release a White cup too early, it will pour into the vast areas of open water, turning your pristine blue ocean into a milky mess. Only release White when the sand dispenser is within 1-2 inches of the coastline.
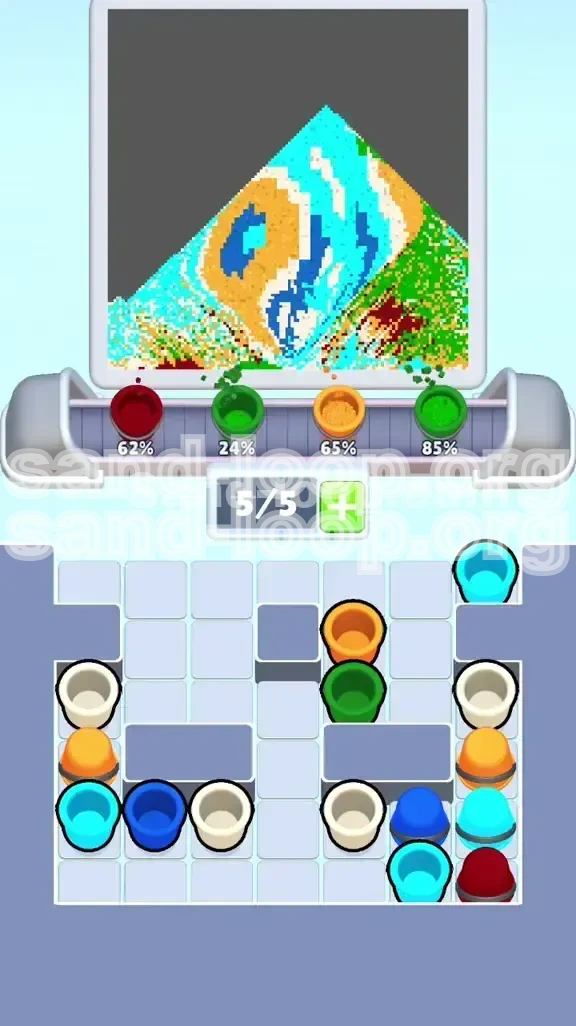
5. Priority 5: Green and Maroon (The Northern Coast)
Volume: Low (10%)
Timing: Final 20% of the level
These colors are located exclusively at the very top of the canvas (the vegetation and rocky shadows). If you pull these cups in the first half of the game, they will occupy valuable slots on your belt for the entire duration of the level. Leave them buried in the supply tray until the very end.
Step-by-Step Walkthrough: From Start to Finish
This section breaks the level down into four distinct phases. Follow these actions precisely to navigate the "U-Shape" tray trap and complete the painting.
Phase 1: The "Dig" (Opening Moves)
The start of the game is chaotic. The tray presents a wall of cups, but the ones you need are hidden.
- Step 1: Look at the top-left and top-right corners of the supply tray. You will see Cyan cups. Tap the Cyan cups on the far edges first.
- Step 2: Look for Dark Blue cups adjacent to the Cyan. Tap them immediately after.
- Step 3: CRITICAL: Do NOT tap the White cup in the top center. It is placed there as a trap. Ignore it completely.
- Result: You clear the top row of "useful" colors, revealing the second row where the Sand cups are hiding, all while keeping your belt clear of the White trap.
Phase 2: Establishing the Base (Water and Sand)
Now that the top layer is cleared, you have access to the main colors. The dispenser is painting the bottom of the canvas (Water).
- Step 1: Identify the Sand (Orange) cups in the now-visible second row.
- Step 2: Alternate your taps. Tap a Cyan, then a Sand, then a Cyan.
- Step 3: Maintain a "buffer" on your belt. Ideally, your belt should look like this: [Cyan -> Sand -> Cyan -> Empty -> Empty]. This gives you the flexibility to grab a sudden Dark Blue patch without getting stuck.
Phase 3: The Coastline Crisis (Mid-Game)
The dispenser is now moving up the canvas and approaching the island. This is where most players fail.
- The Shift: The painting requires White foam now.
- Action: Retrieve the White cup you ignored in Phase 1.
- Warning: Do not queue multiple White cups. The white lines are thin. One cup usually lasts for 3-4 seconds of painting. If you queue two, the second will pour into the Cyan water zone.
- Tactic: Tap one White cup. Wait for the dispenser to paint the foam. As soon as the foam section ends, switch immediately back to Cyan or Sand.
Phase 4: The Northern Finish (End-Game)
You are nearing the top of the image. The water is gone. It is all land, trees, and rocks now.
- Step 1: Stop tapping Cyan completely. Even if there are Cyan cups available, do not tap them.
- Step 2: Clear your belt. Let any remaining Cyan or Sand cups wash out.
- Step 3: Look at the bottom of the supply tray. You will see the Green and Maroon cups you uncovered earlier.
- Step 4: Rapidly tap Green and Maroon to finish the palm trees and rocky shadows at the very top edge of the painting.
Key Tips for Success
Mastering the phases is one thing; handling the nuances is another. These tips will help you maintain control throughout the level.
1. The "3/5" Belt Rule
Try to keep 2 slots empty at all times. If you make a mistake and miss a Dark Blue spot, you need to be able to instantly tap that Dark Blue cup. If your belt is full (5/5), you have to wait for a cup to wash through the machine (taking 3-5 seconds) before you can correct your mistake. Keeping 2 slots empty allows for instant error correction.
2. The "Tap-And-Wait" Rhythm
Don't treat this like a clicker game. Establish a rhythm: Tap -> Watch Dispenser -> Tap -> Watch Dispenser. By watching the dispenser, you ensure that the color change happens exactly when the pixels change. This prevents "bleeding," where Sand pours into Water pixels because you tapped 2 seconds too early.
3. Pre-Loading for Upcoming Layers
While you shouldn't queue Green early, you *should* queue the next primary color slightly in advance. For example, if you are painting Sand, but you see a large patch of Cyan coming up in 3 seconds, tap the Cyan cup while you are still painting Sand. This ensures the color switches the moment the sand pixels end, maintaining a seamless flow.
4. Handling "Clump" Formations
Sometimes, the tray will offer you 3 White cups in a row. Do not tap all three. Tap one, then physically look away from the tray and at the canvas. Watch the white paint. If the white paint is done, do not tap the second white cup yet. Wait until the next white section appears. It is better to be slow than to ruin your accuracy percentage with a single wrong pour.
Common Mistakes to Avoid
Awareness of these pitfalls will save you from frustrating restarts. Learn to recognize the signs of these mistakes before they happen.
1. The "White Out" Error
Symptom: Your beautiful blue ocean has turned white or cloudy.
Cause: You queued the White cups too early.
Prevention: Only tap White when the dispenser is touching the sand. The white foam is *always* adjacent to the sand. If the dispenser is over deep blue water, White is the wrong color.
2. The "Green Logjam"
Symptom: Your belt is full of Green cups, but you are still painting the water at the bottom of the screen.
Cause: You tapped the center column of the tray too early, digging out Green cups meant for the top of the trees.
Prevention: Focus your tapping on the left and right columns first. The center column often contains the trap colors.
3. Misinterpreting Dark Blue
Symptom: You paint a big blob of Dark Blue, but it looks wrong on the canvas.
Cause: Treating Dark Blue as a zone color rather than a detail color.
Prevention: Switch back to Cyan immediately. The Dark Blue is meant to add depth to the water, not replace it. Think of it as "spots," not "zones."
Stuck Solutions: Troubleshooting Guide
If things go wrong, don't panic. Use these solutions to recover from sticky situations.
1. Recovering from a "Soft Lock"
If you have 4 Green cups on the belt, and the dispenser is at the bottom of the screen (Water), you are stuck. There is no magic button. You must wait for the dispenser to move up. Use this time to clear your tray. Tap *nothing*. Let the 4 Green cups pass through the machine. It will take about 15-20 seconds of doing nothing. Once the belt is empty (0/5), immediately tap the Cyan/Sand cups you need. You have lost the speed run, but you can still finish the level.
2. Dealing with Empty Trays
If you need Cyan but there are no Cyan cups visible, you haven't cleared the upper layers yet. Rapidly tap the remaining cups in the top row (even if they are colors you don't need right now, like Green or Red) to clear the physical space on the screen. This reveals the lower rows where the bulk Cyan supplies are hidden.
3. Correcting Color Bleeding
If you accidentally tap the wrong color and it starts pouring onto the wrong area, immediately switch your focus to the supply tray and tap the *correct* color to push it onto the belt. This ensures that the moment the wrong cup finishes, the correct one is immediately next in line, minimizing the damage.