
Level 450
HARDHow to solve Sand Loop level 450? Get instant solution for Sand Loop 450 with our step by step solution & video walkthrough. Sand Loop 450 tips and guide.
Play Sand Loop Now
Experience the puzzle challenge firsthand
Game Screenshots
Sand Loop Level Guides
Level Overview: The Lavender Cottage Logistics Puzzle
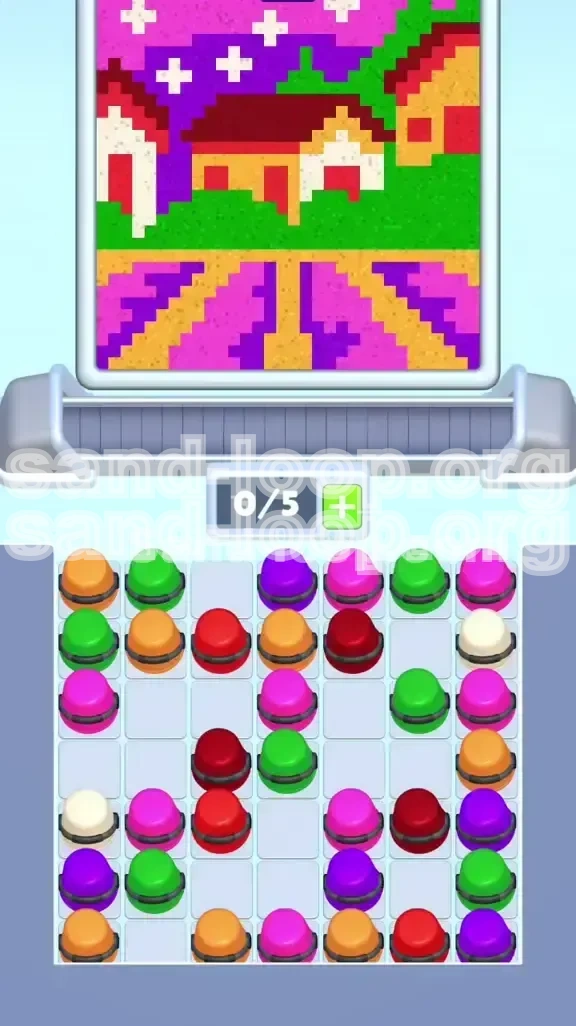
Level 450, titled "The Lavender Cottage," is a deceptive stage that appears calm and aesthetic but hides a brutal logistical nightmare. This is not a level where you can rely on quick reflexes; it is a strict resource management puzzle that tests your ability to plan several moves ahead. The visual aesthetic—a starlit night over a countryside cottage—belies the "gridlock" mechanics that define the gameplay.
The Gridlock Mechanic
Approximately 80% of the starting cups are locked behind "Security Bands" (metal rings). Unlike standard cups, these take a significant amount of time to process in your tray. If you carelessly fill your 5-slot tray with locked cups, you enter a deadlock state where you cannot generate new sand or process existing cups. The level forces you to manage a bottleneck where the supply of usable sand is constantly interrupted by processing timers.
The 5-Slot Constraint
Your tray capacity is hard-capped at 5 slots. In previous levels, keeping your tray full was efficient. Here, it is a death sentence. To succeed, you must operate at 4/5 capacity, deliberately leaving one slot open to act as a buffer. This open slot allows you to instantly grab critical colors (like White or Red) the moment the security bands unlock, preventing them from sinking back into the grid or being overwritten by less critical colors.
Visual Stratification
The canvas is divided into three distinct depth layers, each with unique difficulty curves. The Foreground (Lavender Fields) consists of large, forgiving blobs of Pink and Purple. The Midground (Hedges and Path) requires sharper boundaries using Green and Tan. The Background (Sky and Cottage) demands pixel-perfect precision for White stars and architectural alignment for the Red roof. The challenge lies in clearing the abundance of the foreground to access the scarcity of the background.
The "Scarcity" of White and Red
While Pink and Purple cups are plentiful and spawn frequently, the White and Red cups are rare resources. They are often buried at the bottom of the grid stack or hidden behind multiple layers of Security Bands. A common failure point is clearing the easy foreground colors first, only to find yourself trapped with a full tray of useless Pink cups while the timer runs out, unable to reach the scarce White cups needed for the sky.
Contamination Risks
The color contrast in this level is high, making "bleed" errors visually jarring and penalized heavily by the scoring algorithm. Spilling Green into the Tan path, or White into the Purple fields, creates muddy borders that are difficult to correct. The level requires a disciplined pouring style, prioritizing containment over speed, especially during the transition between the chaotic fields and the structured path.
Strategic Objectives: Planning the Perfect Run
To conquer Level 450, you must stop viewing the game as a sorting task and start viewing it as a supply chain management problem. Your goal is to minimize tray downtime while maximizing the accuracy of your deposits.
Objective 1: The "Buffer Slot" Discipline
Your primary rule is to maintain 1 empty slot in your tray at all times. This discipline prevents the "Full Tray" deadlock. By keeping a slot open, you ensure that you are always ready to receive a critical cup as soon as it is unlocked. If you find yourself at 5/5 capacity, you must prioritize pouring immediately to clear space, rather than tapping the grid.
Objective 2: Prioritize Structural Borders
You must reverse the natural instinct to fill the bottom-first. Instead, prioritize the Tan Path and Green Hedges (the midground). The Tan path acts as a physical dam or barrier between the messy Lavender fields and the pristine Cottage. Establishing this border early prevents accidental overflows of Purple or Pink from contaminating the lower half of the house or the pathway later in the level.
Objective 3: Flush the Grid to Unlock Rares
White and Red cups are "deep stack" items. They will only appear in the playable grid once you have removed the top layers of Pink and Purple. Your objective must be to aggressively "flush" the grid by processing and discarding (pouring) the foreground colors rapidly. Do not hoard Purple; treat it as a disposable resource meant to expose the valuable White cups underneath.
Objective 4: Adopt the "Tap-and-Check" Method
For the Sky and Cottage details, abandon the "hold to pour" strategy. Instead, adopt a staccato rhythm: tap, release, check, tap again. This is essential for the White stars and the Red roof peaks. The tap method allows you to micromanage the fill percentage, stopping precisely at 99% to avoid the 101% overflow penalty that ruins clean lines.
Objective 5: Isolate Color Zones
Complete one color zone entirely before moving to an adjacent zone to prevent "sand creep." For example, finish the entire Tan path before starting the Green hedges. If you alternate between Tan and Green without finishing one, the wet sand will mix at the borders, creating a brownish contamination line that will lower your final score significantly.
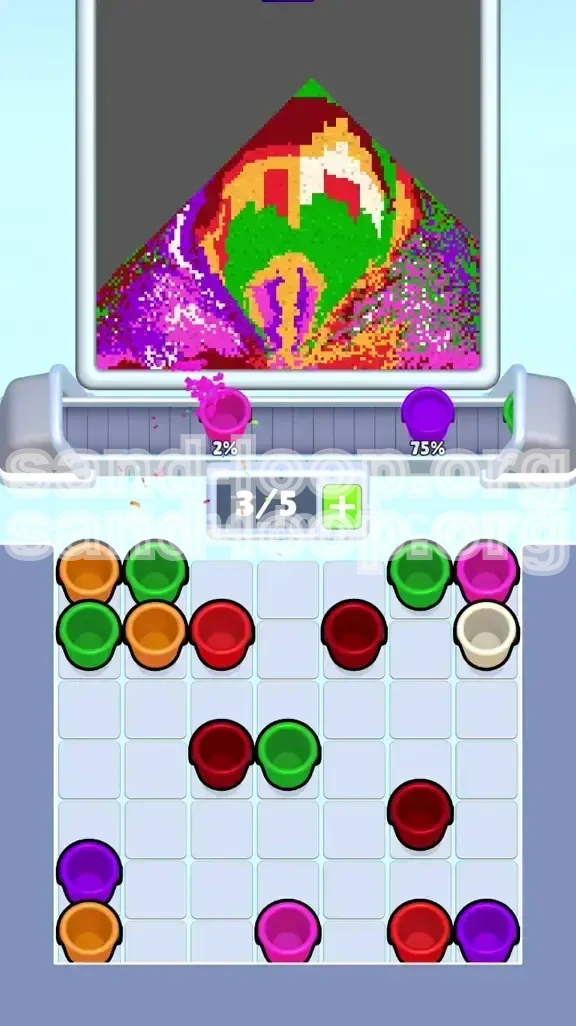
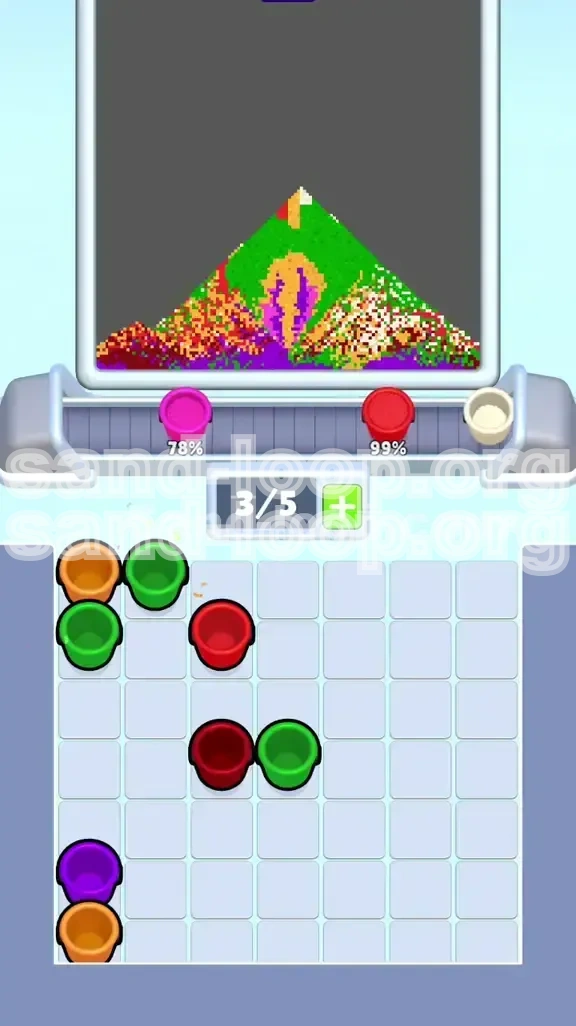
Step-by-Step Walkthrough: Phase 1 to 4
This walkthrough divides the level into four chronological phases. Follow this sequence strictly to avoid the common tray deadlock traps.
Phase 1: The Tray Setup (0-20% Completion)
Action: Start the level and immediately tap the grid to pull 4 cups into your tray. Crucial: Do not pull a 5th cup. Leave the 5th slot empty.
Wait: Watch the Security Bands spin off these initial cups. Do not pour yet.
Strategy: Use this time to visually map the canvas. Identify where the Tan path borders the Lavender fields.
Pour Trigger: As soon as the first cup turns "Active" (bands removed), pour it immediately.
Phase 2: The Structural Foundation (20-45% Completion)
Target: Look for Tan and Green cups. If the grid offers them, pull them into your empty slots.
Tactical Hold: If the grid offers only Pink/Purple, pull them but pour them instantly into the Lavender fields just to get them out of your tray. You need to cycle through these "trash" colors to reach the structural ones.
Pouring: Pour the Green sand to create the hedge line. Pour the Tan sand to build the path.
Focus: Ensure the Tan path borders are sharp and thick. This is your safety net for the rest of the level.
Phase 3: The Grid Flush and Sky (45-80% Completion)
The Shift: Once the path and hedges are roughly 60% full, shift focus to the background. You need White.
Aggressive Tapping: Rapidly pull and pour any remaining Pink/Purple cups into the bottom fields. Your goal is to empty the grid of "noise" so the game spawns the White cups from the deep stack.
Star Precision: When you get a White cup, move to the top of the canvas (Sky). Use single taps to fill the tiny star shapes. Do not hold the pour.
Recovery: If you run out of White, go back to flushing the grid with Pink/Purple until more White spawns.
Phase 4: The Final Stretch (80-100% Completion)
The Cleanup: You should have the foreground (Lavender) and background (Sky) mostly done. The grid is now likely cycling Green, Tan, and Red.
Cottage Walls: Pour White sand into the main cottage body. Be careful of the roof line.
The Red Cap: Finish the level with the Red roof. Since the roof is the highest element and surrounded by "finished" colors, you can be slightly more aggressive here to hit 100%.
Final Polish: Use any remaining sand to top off the "corners" of the canvas where fill percentage often lags.
Color Order and Processing Guide
Processing colors in the wrong order is the leading cause of "Soft Locks" in Level 450. Follow this hierarchy to ensure you always have tray space for the right color at the right time.
1. Tan: The Anchor Color
Priority: High (Early Game)
Reason: Tan defines the boundaries of the level. If you fill the Lavender fields first, you will inevitably spill Purple into the Path zone. By filling Tan first (or second, immediately after establishing the Green line), you create a "dam" that catches overflow.
Tip: Tan is usually a mid-stack color. It becomes available after clearing the initial wave of Pink. Grab it the moment you see it.
2. Green: The Separator
Priority: High (Early Game)
Reason: The Green hedges separate the chaotic foreground from the structured background. Establishing this line early prevents the "bottom-heavy" mistake where you have a perfect field but no house.
Tip: Green is abundant. Don't be afraid to "waste" Green to clear tray slots if you are locked up.
3. Pink & Purple: The Bulk Fillers
Priority: Low (Mid/Late Game)
Reason: These are "filler" colors. They exist to be poured to clear grid space. They are large areas that forgive minor inaccuracies.
Technique: Use the "Checkerboard" method. Fill a block of Purple, then a block of Pink. This prevents the sand from mounding unevenly in the tray.
4. White: The High-Value Target
Priority: Critical (Mid Game)
Reason: White is scarce and serves two distinct purposes: the tiny stars and the large walls. It is the most time-consuming color to apply correctly due to the precision required for the stars.
Warning: Do not pull White cups until you have the tray space and time to focus. A White cup sitting in a full tray is a wasted resource.
5. Red: The Finisher
Priority: Variable (Late Game)
Reason: Red is the "Capstone." It sits on top of the White walls. If you pour Red too early, you risk splashing dark sand onto the clean White roof or the Green bushes.
Strategy: Save Red for the last 10% of the level. It is the easiest color to mess up, but the easiest to fix if everything else is already done.
Key Tips, Common Mistakes, and Speed Run Solutions
This section provides advanced tactics to optimize your score, specific pitfalls to avoid, and emergency procedures for when the level goes wrong.
Key Tips for Mastery
The 4/5 Rule: Visually mark the 5th slot in your tray as "Out of Bounds." Pretend it doesn't exist. If you have 4 cups, your brain should switch to "Pour Mode" only.
Pre-Loading: While a cup is pouring, look at the grid. Don't watch the sand fall. Identify the next cup you need (e.g., "I need Tan next"). Be ready to tap it the millisecond your current cup is empty.
The "Band" Timer: Security Bands take exactly 3 seconds to remove. Use this rhythm. Tap, wait 3s, Pour. Don't frantically tap the cup; it won't speed up the process.
Stabilization: For the White stars, rest your wrists on your device or table. The "stars" are effectively pixel-art targets; micro-tremors in your hand will cause overfill.
Common Mistakes to Avoid
The "Star Bleed": Overfilling the White stars so they merge into a blob. This ruins the "Sky" aesthetic and drops your score. If a star is 90% full, leave it. You can come back.
The "Purple Path": Accidentally pouring Purple into the Tan path. Because Purple is dark and Tan is light, this is very visible. If this happens, you must carefully overfill the Tan to "bury" the Purple spot, which uses valuable resources.
Hoarding: Keeping a "good" cup (like White) in your tray while you look for another "good" cup. This clogs your logistics loop. Pour what you have, then get more.
Ignoring the Sky: It's easy to focus on the big cottage and forget the sky. The sky accounts for 20% of the canvas. Neglecting it until the end usually leads to a messy rush job.
Solutions When You Are Stuck
Stuck at 98%? Check the "Corners." The game often hides a single pixel of unfilled space in the acute angles of the roof or the bottom corners of the Lavender fields. Zoom in (if supported) or look for the "sparkle" animation indicating unfinished spots.
Can't find Red? The Red cups are "Deep Stack." You must completely clear the grid of Pink, Purple, Green, and Tan. The game algorithm will not spawn the final Red cups until the grid volume is below 15%.
Tray Full of Useless Colors? You have a "Soft Lock." The solution is to "Emergency Pour." Pick a color on the canvas that isn't full (even if it's the wrong color) and pour the cup there just to empty the tray. It's better to have a 5% mistake in a corner than to be stuck with a full tray.
Speed Run Tips
Bulk Pouring: For the Lavender fields (Pink/Purple), don't tap. Hold the pour. These areas are huge and act as a "dump" for excess sand.
Ignore Perfection: In a speed run, 95% accuracy is acceptable. Don't waste time trying to get the White stars perfectly round. Get them to 80% and move on.
The Chain Reaction: Try to pull 3 cups of the same color in a row. Pulling 3 Purples, pouring 3 Purples, is faster than Pulling Purple, Pouring, Pulling Green, Pouring, Pulling Purple. Minimize context switching.