
Level 90
HARDHow to solve Sand Loop level 90? Get instant solution for Sand Loop 90 with our step by step solution & video walkthrough. Sand Loop 90 tips and guide.
Play Sand Loop Now
Experience the puzzle challenge firsthand
Game Screenshots
Sand Loop Level Guides
Level 90: The Cyan Cat Challenge - Complete Strategy Guide
Understanding the Canvas Layout
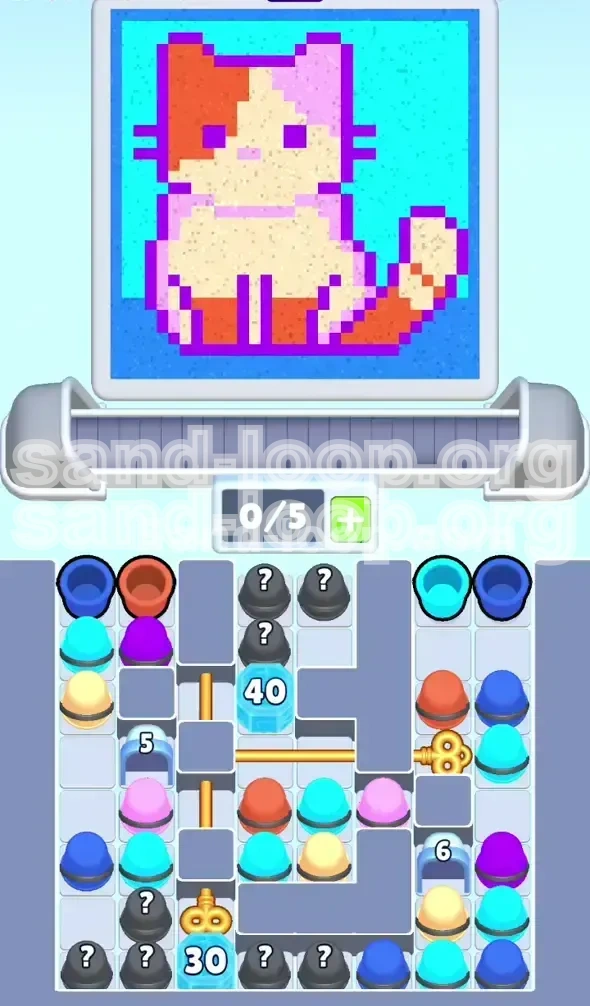
Level 90 presents a deceptively complex pixel-art canvas featuring a stylized cat face set against a vibrant cyan background. The primary visual difficulty lies in the color distribution: while the cyan background dominates the visual space (accounting for approximately 45-50% of the total grid), the cat's features require precise application of cream, light yellow, magenta, and purple. These accent colors are confined to small zones—the inner ears, irises, and paw tips. This disparity between the large "dump" zones (Cyan) and the micro-target zones (Purple/Magenta) is the core mechanic you must manage. You cannot simply treat this as a filling exercise; it is a resource management puzzle where every pixel counts.
Primary Mission Objectives
Your goal is not just to fill the canvas, but to satisfy specific color quota meters located at the top of your screen. There are five active color streams in this level: Cyan, Blue, Orange, Yellow, and Magenta/Purple. To secure the three-star rating, you must fill all meters to 100% simultaneously without overflowing any single stream. Overflowing Cyan is the most common failure point, as its abundance on the board masks the fact that its meter fills up twice as fast as the accent colors.
Starting Constraints Analysis
At the start of the level, you are equipped with a standard 5-slot conveyor belt. However, the supply tray is "stacked." The cups you need immediately—Blue and Cyan—are located on the top periphery. The critical high-value cups (Yellow and Magenta) are buried underneath heavy stacks of less useful cups or blocked by "unknown" tiles that require adjacent clears to unlock. This means your opening moves are forced: you must clear the top layer to access the strategic colors buried beneath. You start with 0/5 slots filled, giving you a brief moment of setup time before the belt begins to move.
The "Slot Economy" System
In Sand Loop Level 90, your inventory slots are your most valuable currency. You only have 5 slots. If you fill all 5 slots with Cyan cups because they were readily available, you have effectively locked yourself out of the game. You will be forced to waste Cyan pours (overflowing the meter) just to free up a slot for a Magenta cup that you desperately need. The golden rule for this level is: never let your belt hold more than 3 cups of the same color type at any given time. You must maintain "Slot Elasticity"—keeping at least 1 or 2 slots open to immediately snag high-value colors when they unblock in the tray.
Why This Level Is Harder Than It Looks
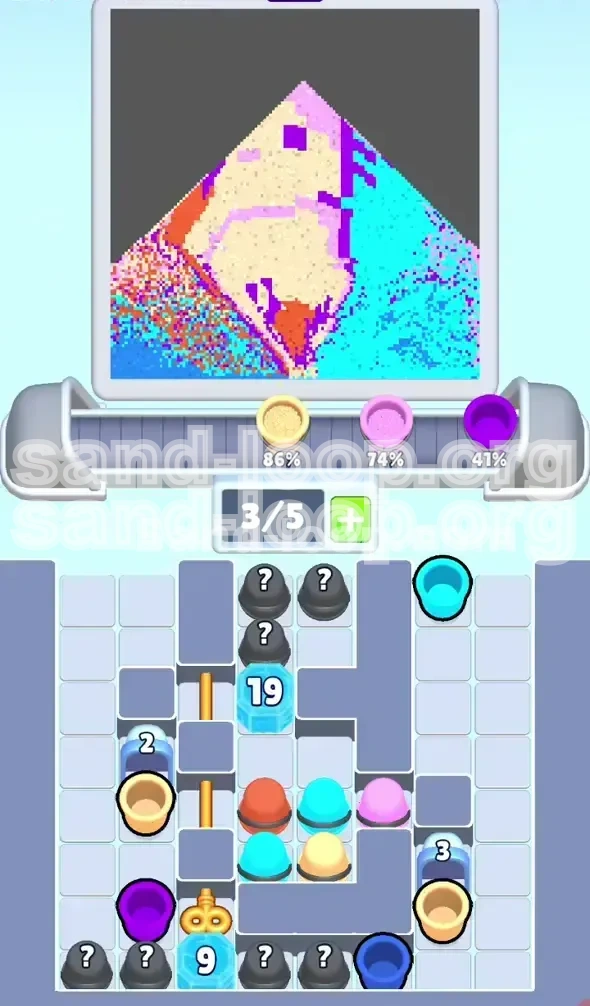
The difficulty spike in Level 90 comes from the feedback delay. When you pour a large zone color like Cyan, the visual change on the canvas is subtle because the area is so large. This tricks your brain into thinking you haven't made progress, leading you to pour again. Meanwhile, the small meter for Cyan has spiked from 20% to 80%. Conversely, when you pour a small zone color like Magenta, the visual change is drastic (a whole ear fills up), making you feel like you've overdone it, when in reality, you might only be at 15%. Level 90 requires you to trust the progress bars at the top of the screen, not your eyes.
Phase 1: The Setup and Tray Clearing (0% - 30%)
The Opening Sequence
Do not start by tapping the dispenser immediately. Look at your supply tray. You will see Blue and Cyan cups are accessible. Load exactly one Blue cup and one Cyan cup into the first two slots of your conveyor belt. Leave the third slot empty. This setup is crucial. As the belt moves, the Blue cup will arrive at the dispenser first. Pour it immediately. As the Blue cup exits the belt, load the Cyan cup into the empty slot it leaves behind. This staggered loading prevents the "traffic jam" that occurs when you try to load everything at once.
Unblocking the "Big Three" Colors
While your first two cups are traveling the belt, look at the tray again. You need to expose the Yellow, Magenta, and Purple cups. These are usually buried under single-use Blue or Orange cups. Your priority now is to load these "blocker" cups into the belt to clear the physical space in the tray. Don't worry about pouring them yet. Just get them onto the belt. For example, if a Blue cup is sitting on top of a Yellow stack, load that Blue cup. You are essentially using your conveyor belt as a temporary trash can to clear the desk.
Managing the Cyan Meter Early
The Cyan background is the largest zone. It fills up incredibly fast. A common mistake is pouring Cyan until the blue background looks "complete." Stop at 30%. Once the Cyan meter hits roughly one-third full, stop loading Cyan cups entirely. Even if the background looks patchy, ignore it. You will come back to it at the very end. If you hit 50% Cyan before you have even touched Magenta, you are guaranteed to fail or lose a star. Discipline in these opening moments is what separates a successful run from a restart.
Staging the Rare Colors
As you clear the blocker cups, you will see the Yellow and Magenta cups become accessible. Do not pour them yet! Instead, load them into your empty conveyor slots to "stage" them. If you have a Yellow cup sitting in slot 4 and a Magenta cup in slot 5, they are safe. You want them waiting in the queue so that when you are ready to switch focus, you don't have to scramble to find them in a cluttered tray. This forward-loading is the key technique for high-level play.
The 40% Rule of Thumb
By the end of Phase 1, your progress bars should look uneven but controlled. Cyan should be around 30-40%. Blue and Orange (your workhorse colors) should be around 40-50%. Yellow and Magenta should be around 10-15%. If any color is lagging behind 10%, prioritize loading it in the next phase. If Cyan is above 50%, you are in the danger zone. This phase ends when your conveyor belt has a healthy mix of 2 Cyan/Blue, 2 Yellow/Orange, and 1 Magenta/Purple cup queued up.
Phase 2: Mid-Game Balancing Act (30% - 70%)
The Rhythm of Loading
Now the real puzzle begins. Your belt is moving, and you have multiple colors to juggle. Adopt a rhythmic approach: Pour -> Load -> Wait. When a cup finishes pouring, don't instantly fill the slot. Pause for half a second. Look at your meters. Which color is the lowest? Load that cup. If you have a choice between loading a 50% color or a 20% color, always choose the 20% color. This keeps the progress bars climbing in a parallel fashion rather than a staggered one.
The "Small Zone" Strategy
This is the most critical step for Level 90. The cat's ears and paws (Magenta and Purple) are tiny. Pouring Magenta on a large background is a disaster; pouring it on a small ear is efficient. You must ensure that when you pour Magenta or Purple, you are targeting the correct zone. However, since the game auto-fills, you control this by limiting the volume of the pour. Never pour a full Magenta cup if the meter is close to full. Instead, prepare to tap the dispenser rapidly to do a "burst pour" to finish it off precisely.
Handling the Overflow Risk
Watch the Cyan meter like a hawk. It will creep up while you are focusing on other colors. If you see Cyan hitting 65%, you must stop loading Cyan cups immediately, even if it means leaving a slot empty. It is better to run with 4 cups than to accidentally overfill Cyan. Remember, an empty slot is an opportunity; a full slot of the wrong color is a death sentence. If the belt forces a Cyan cup to the front and you are already at 70%, you have no choice but to waste it or pour it and hope the game's "overflow" tolerance is lenient (it usually isn't).
Color Priority Queue
In the mid-game, prioritize colors in this order: Lowest % First. If Magenta is at 10% and Cyan is at 50%, load Magenta. If Yellow is at 20% and Blue is at 40%, load Yellow. The only exception is if a color is at 95%—then you finish it off completely to get it out of the way. Keeping all colors within a 20-30% bandwidth of each other is the safest way to ensure you don't hit a deadlock where one color is full and blocking the slot economy.
Slot Management Tactics
If you find yourself with a full belt (5/5) and the next cup you need is buried in the tray, you have managed your slots poorly. To fix this, you must "burn" a cup. Identify the color on your belt that has the highest percentage (e.g., Blue at 80%). Pour that cup to remove it from the belt, freeing up a slot. Yes, you might overfill Blue slightly, but sacrificing 5% accuracy on Blue to free up a slot for a critical Magenta pour is a winning trade.
Phase 3: The Endgame Precision Run (70% - 100%)
Slowing Down for Precision
Once all meters are above 70%, the game changes from "Logistics" to "Sniper." Stop loading cups in advance. Change your strategy to a 1-by-1 approach. Load one cup. Pour one cup. Remove one cup. Look at the meters. Repeat. This slow pacing prevents the accidental double-tap errors that ruin 90% complete runs. The belt speed becomes your friend here, giving you time to think between pours.
The Final Color Order
The optimal finish order for Level 90 is usually: Accent Colors First. Finish off Magenta, Purple, and Yellow completely. Get them to 100% and done. Why? Because they have the smallest margin for error. Once they are locked in, you can focus entirely on the big zones. If you leave Magenta at 90% and try to finish Cyan last, you might accidentally push Cyan to 100% while Magenta is still waiting, forcing a waste on Cyan.
The "Tap-Release" Technique
For the final 5% of any color, do not hold down the dispenser. Tap it. Tap-tap-tap. This releases small controlled amounts of sand. This is essential for the Purple and Magenta zones. One extra grain of sand can be the difference between a perfect clear and a messy overflow. Watch the meter fill up the last bar. When it hits the top line, let go of the cup immediately. Do not wait for the animation to finish.
Dealing with the Cyan Background
Cyan should be your very last fill. Because the background is so large, it takes a lot of sand to move the meter in the final 10%. You will likely need to pour 2 or 3 full Cyan cups to bridge the gap from 90% to 100%. Since you have cleared all other colors off your belt and out of the queue, you can dedicate all 5 slots to Cyan cups for this final sprint without fear of messing up the other meters.
The Clear Screen Verification
Before you celebrate, do a visual scan of the cat. Are the ears fully magenta? Are the paws fully yellow? Sometimes the meter says 100% but a stray pixel on the canvas remains unfilled due to collision oddities. If this happens, a single targeted tap usually fixes it. Ensure the cyan background is uniform and the "grid" lines of the pixels are no longer visible.
Troubleshooting, Tips, and Speed Run Strategies
Common Mistake: The Cyan Lock
The Problem: You loaded 3 Cyan cups early because they were available. Now your belt is clogged, and Magenta is unlocked in the tray but you have no slots to load it. The Fix: You must "waste" the Cyan cups. Pour them onto the background even if it overflows slightly. The penalty for a slight overflow (10-15%) is usually recoverable. The penalty for a locked belt (0% progress on Magenta) is a restart. Waste smart.
Stuck in the Tray?
Sometimes cups don't spawn, or they seem stuck behind a wall. In Sand Loop, the physics engine sometimes requires a "nudge." If a cup isn't sliding down, try loading the cup directly above it. The act of removing the top cup often causes the stack to settle and the bottom cup to slide into the accessible lane. Never stare at a blocked cup for more than 2 seconds; work on something else and come back to it.
Speed Run Tip: Pre-Loading
For players aiming for the time-based leaderboards, the secret is aggressive pre-loading during the "Safe Zone" (0-20%). While the first cup is pouring, you should already have 3 more cups loaded into the belt. Calculate the travel time. If a cup takes 10 seconds to reach the dispenser, and you spend 8 seconds staring at the screen, you are losing time. Keep the belt full during the easy parts so you can focus purely on precision during the hard parts.
Booster Recommendations
If you are struggling with the 5-slot limit, the +1 Slot booster is a game-changer for Level 90. Having 6 slots gives you the buffer needed to hold onto that Magenta cup without clogging your pipeline. The Time Freeze booster is less useful here because the difficulty isn't speed, it's logistics. The Undo booster is highly recommended for first-timers to save yourself from a single mistimed pour.
Visual Cues for Success
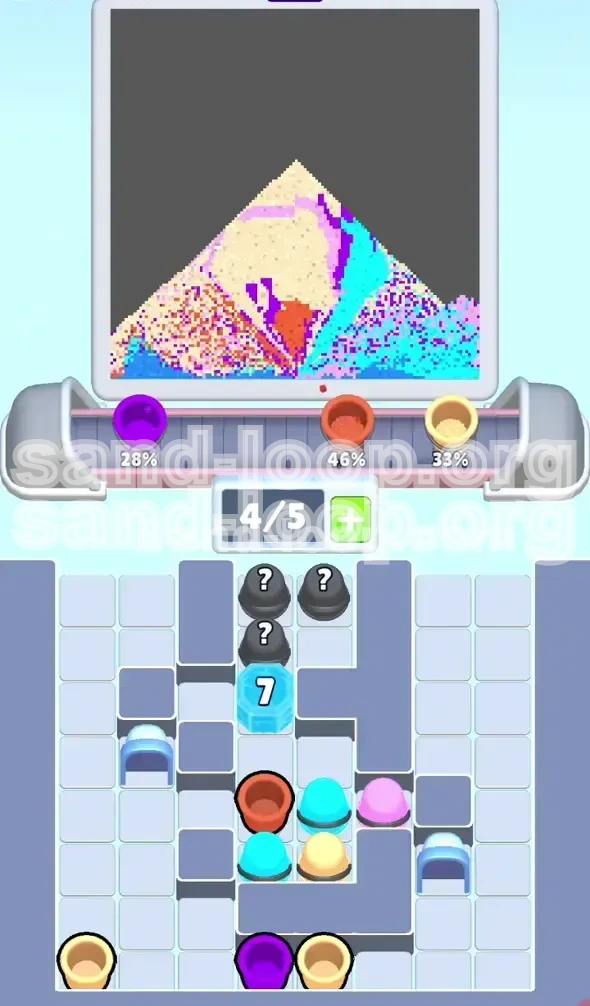
Learn to recognize the "gloss" of a filled zone. A filled zone stops absorbing sand immediately; the sand piles up on top. If you see sand piling up like a pyramid rather than flattening out into the pixel grid, that zone is full. Stop pouring immediately. This visual cue is faster than looking up at the progress meter and can save you crucial milliseconds in the endgame.
Final Mental Check
Before you start your run, say this aloud: "Cyan is last, Magenta is first." If you remember this mantra, you will avoid 90% of the traps in Level 90. Good luck filling the cat!