
Level 92
HARDHow to solve Sand Loop level 92? Get instant solution for Sand Loop 92 with our step by step solution & video walkthrough. Sand Loop 92 tips and guide.
Play Sand Loop Now
Experience the puzzle challenge firsthand
Game Screenshots
Sand Loop Level Guides
Level Overview: The Split-Face Husky Challenge
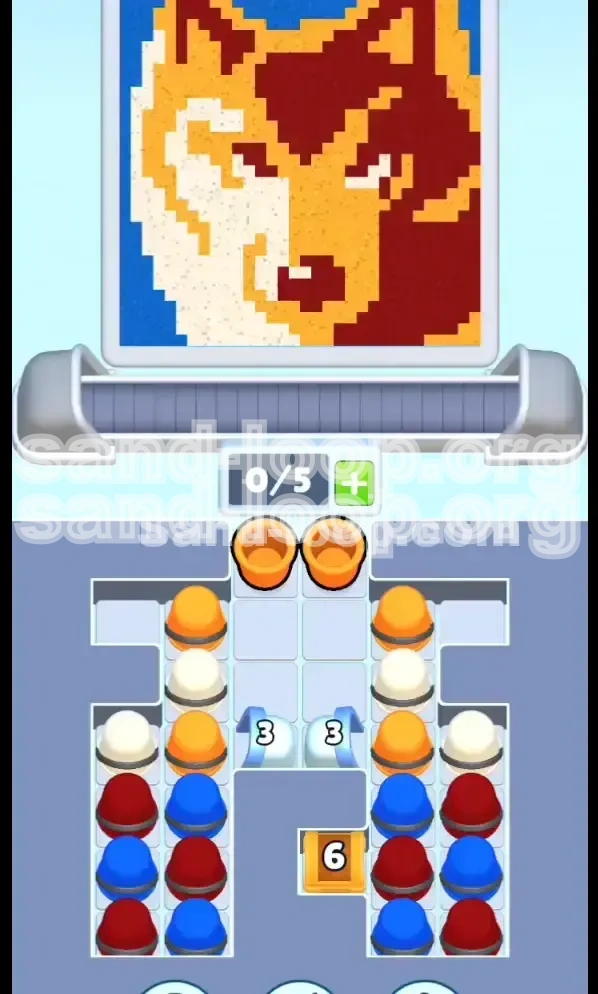
Welcome to the definitive walkthrough for Sand Loop Level 92. This stage introduces a high-difficulty pixel art challenge known as the "Split-Face Husky." Unlike previous levels where you could simply clear blocks from the bottom up, this level is designed to test your inventory management and color coordination skills. The core difficulty lies in the "Inverted Supply Stack," where the colors you need first (for the background) are buried at the very bottom, while the face colors are stacked precariously on top.
The level forces a "Middle-Out" approach, meaning you must paint the dog’s face before you can access the background supplies. This creates a constant risk of conveyor belt congestion. If you mismanage your color balance—specifically the split between the White (Left Face) and Orange (Right Face)—you will find yourself in a deadlock where your belt is full of unusable paint. This guide will provide the exact strategy to clear the glass, manage the belt, and execute the perfect color order.
Vertical Color Split Mechanics
The defining feature of this level is the vertical separation of the canvas. The left side of the Husky is entirely White, while the right side is entirely Orange. Your supply tray, however, is mixed. If you tap only from the right side of the tray, you will flood your conveyor belt with Orange cups while the nozzle is hovering over the White section of the face. This mismatch results in wasted time and clogged slots. You must maintain a strict 1:1 ratio when tapping cups to keep the belt flowing smoothly.
The Inverted Supply Stack Problem
In a typical physics puzzle, gravity dictates that sand settles at the bottom. Logic would suggest filling the Blue background first. However, Level 92 subverts this by burying the Blue and Red cups under heavy layers of White and Orange. You cannot access the background colors until you have excavated the top layers. This creates a unique gameplay loop where you must aggressively clear the top layers to free the bottom layers, all while ensuring the top-layer paint doesn't clog your machine.
Capacity Management
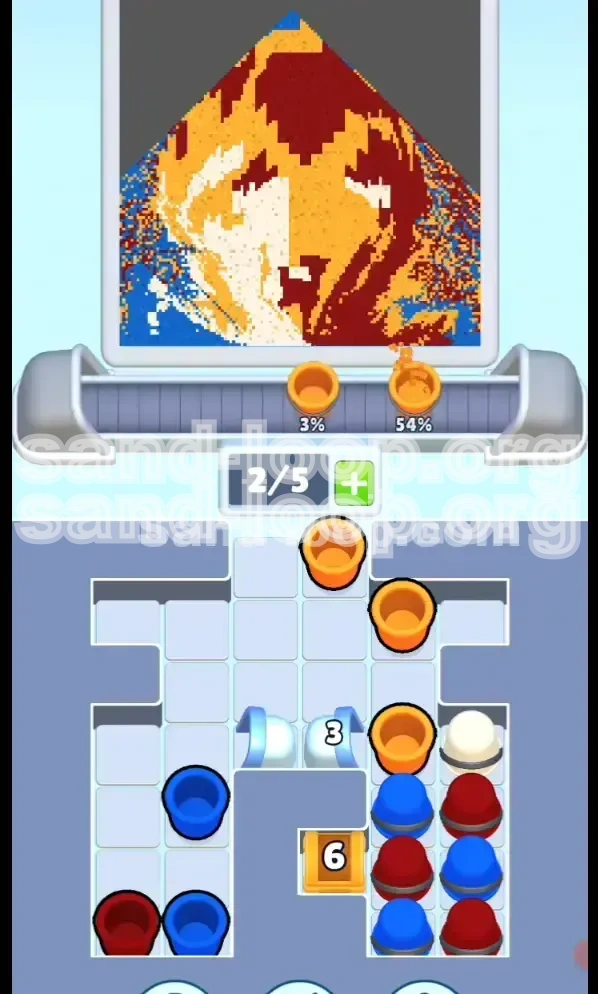
Your conveyor belt has a strict capacity of 5 slots (0/5 to 5/5). In this level, reaching 5/5 is a dangerous state. Because the face colors (White and Orange) cover large surface areas, they take longer to pour than the small detail colors. If you fill the belt with 5 cups of face paint, you have zero buffer to maneuver the background cups when they finally become available. Keeping the belt at 50-60% capacity (2 or 3 slots occupied) is the optimal safety zone for this stage.
Pixel Density Analysis
Understanding the pixel count helps prioritize your actions. The White and Orange areas constitute approximately 70% of the total canvas area. The Blue background makes up 25%, and the Red accents (ears and nose) make up only 5%. A common failure point is treating all colors equally. You do not need to pull Red cups as often as the others. In fact, pulling Red too early is the fastest way to soft-lock your level.
The "Glass Block" Obstacles
Scattered throughout the supply tray are Glass Blocks marked with numbers ("3" and "6"). These act as gates. You cannot simply tap any cup you want; you must clear cups adjacent to these blocks to break them. The "3" blocks guard the initial face supplies, while the "6" block sits directly atop the crucial Blue and Red reserve. Breaking these barriers efficiently is the key to transitioning from the "Face Phase" to the "Background Phase."
Step-by-Step Instructions: The Perfect Run
This section breaks down the level into a sequential action plan. Follow these steps in order to minimize risk and maximize efficiency. The goal is to move from the "Opening Salvo" through the "Excavation Phase" and finally into the "Detailing Phase" without ever pausing the game flow.
Phase 1: The Opening Salvo
As soon as the level loads, locate the two loose Orange cups floating at the very top of the tray, positioned directly under the capacity counter. Tap these two cups immediately. Do not touch the side stacks yet. These two cups are your "freebies"—they are loose and will not destabilize the glass stacks below. Sending them first initializes the flow of the right side of the face without compromising the structural integrity of the supply tray.
Phase 2: Breaking the "3" Glass Blocks
With the loose cups gone, turn your attention to the glass blocks marked with a "3" located in the upper center of the tray. These blocks are preventing you from accessing the main columns. To break them, you must clear the White cups in the row immediately adjacent to them. Tap the White cups on the left side. As they clear, the shockwave will shatter the "3" blocks. This clears the visual clutter and opens up the main supply columns for the next phase.
Phase 3: The Alternating Tap Strategy
Now you are in the thick of the "Face Phase." You will see tall stacks of White on the left and Orange on the right. This is the danger zone. You must alternate your taps rhythmically: Tap one White cup (Left Stack), then one Orange cup (Right Stack). Repeat this pattern. This ensures that as the nozzle moves back and forth, it always has the correct color waiting for it. If you deviate and tap three Whites in a row, you will flood the belt, and the Orange side of the face will remain unpainted while the nozzle idles.
Phase 4: Cracking the "6" Golden Crate
As you clear the top half of the face colors, you will expose the middle layer of the tray. Here, you will find a sturdy Golden Crate marked with a "6." This crate sits directly on top of the precious Blue and Red cups. You cannot break this crate with a tap; it breaks automatically via collateral damage as you clear the cups surrounding it. Continue your alternating tapping pattern. As the adjacent cups are removed, the "6" crate will shatter, finally revealing the bottom layer of supplies.
Phase 5: The Background Drain
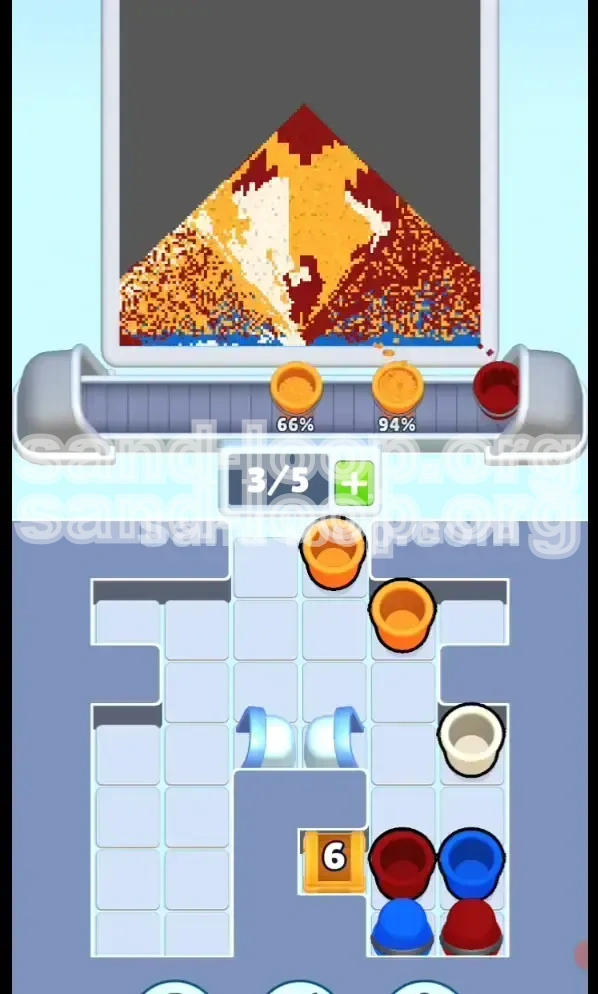
The moment the "6" crate breaks, you will see the Blue cups. STOP. Do not tap them yet. Look at your conveyor belt. Is it full of White and Orange cups? If you tap Blue now, they will get stuck behind the face colors. Wait for the belt to drain down to 2 or 3 empty slots. Once you have space, tap the Blue cups rapidly. These fill the bottom of the canvas quickly. Since the background is a single large area, the Blue cups pour very fast, so you can afford to send 2-3 of them in quick succession once the belt is clear.
Phase 6: The Final Red Accents
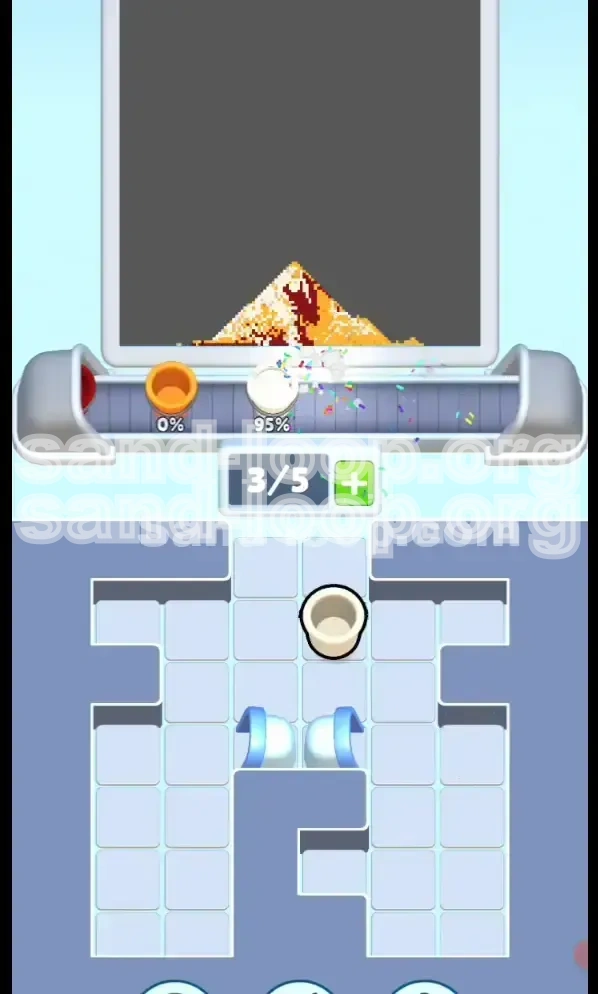
You are now left with a few Red cups at the very bottom of the tray. These are for the ears and the nose. This is the final test. The surface area for these features is tiny. Tap ONE Red cup. Wait for it to pour completely (about 3-4 seconds). Watch the canvas. If the nose and ears are fully painted, you are done. Do not tap the remaining Red cups unless the canvas explicitly demands more paint. In 90% of runs, you will have leftover Red cups. This is normal. Tapping them all at once will cause them to loop uselessly, blocking your victory.
Color Order and Processing Logic
Winning Level 92 requires you to process colors in a specific order that contradicts the natural stack arrangement. If you process colors in the order they appear (First-In-First-Out), you will fail. You must process them based on the *canvas* requirements, not the *tray* arrangement.
Priority 1: Orange (Right Face)
Orange is the starter color. Because the two loose cups at the top are Orange, this color dictates the initial pace. You must prioritize clearing the top-right stack to prevent a backlog. However, once the initial loose cups are cleared, Orange drops to "Priority 1B," shared equally with White. You cannot finish the Orange side before starting the White side, or you will run out of belt space.
Priority 2: White (Left Face)
White is your primary excavation tool. The White stack is often structurally linked to the glass blocks that need breaking. Clearing White cups is the catalyst for unlocking the lower tiers of the tray. Furthermore, the White face area is large. It requires a constant, steady stream of paint. Do not let the White side of the nozzle wait for paint, or you lose valuable seconds.
Priority 3: Blue (Background)
Blue is the "Buried Treasure." It is the most important color for completing the level (it covers the most surface area), but it is the last one you can access. The logic here is "Just-in-Time" delivery. You want the Blue cups to arrive on the belt exactly when the face is mostly finished. If they arrive too early, they clog the machine. If too late, you are waiting for nothing. Timing the release of the Blue cups is the mark of a pro player.
Priority 4: Red (Details)
Red is the "Trap" color. It is low volume but high risk. It sits at the bottom of the tray, tempting you to clear it early. You must resist this urge. Red should be the very last color you process. Treat the Red cups as if they are volatile. Only introduce them to the belt when the rest of the canvas is 95% complete.
The "Middle-Out" Strategy Explained
The "Middle-Out" strategy refers to the painting order. You start with the middle layer of the image (the Face), and finish with the bottom layer (the Background), and top layer (the Details). This is counter-intuitive. Normally, you paint Background -> Face -> Details. In Level 92, the supply chain forces you to paint Face -> Background -> Details. Adapting your brain to this reversed workflow is essential for success.
Managing the 0/5 Slot Capacity
The 0/5 counter is your heartbeat monitor. Ideally, you want to hover between 2/5 and 3/5. This gives you enough paint to keep the nozzle moving but leaves enough buffer to maneuver new cups onto the belt. If you hit 5/5, you are in immediate danger of a deadlock. If you stay at 0/5 or 1/5, you aren't clearing the tray fast enough. The rhythm of tapping should match the rhythm of pouring: Tap-Pour-Tap-Pour.
Key Tips for Efficiency
To achieve a high score or a speedy completion, you need to optimize your movements. These tips go beyond basic survival and focus on efficiency.
The "Alternating Tap" Rhythm
Establish a metronome in your head: *Left-Right, Left-Right*. By alternating taps strictly between the White and Orange stacks, you synchronize your input with the nozzle's movement. The nozzle naturally swings Left-to-Right. If you tap in that same rhythm, the paint arrives exactly when the nozzle is in position. This eliminates "travel time" for the nozzle and reduces the chance of a clog.
Visual Clutter Management
The "3" Glass Blocks are not just obstacles; they are visual noise. As soon as the level starts, your priority should be to shatter these blocks. Why? Because when they are gone, you can clearly see the remaining stacks. Trying to calculate your next move while looking through cracked glass is a recipe for errors. A clean tray leads to a clean mind.
Pre-Belt Drain
Before you crack the final "6" crate to release the Blue cups, do a "Pre-Belt Drain." This means stop tapping completely for 3-4 seconds. Let the belt run dry. Get your slot count down to 1/5. Why? Because when that crate breaks, you want to be able to pull 3 Blue cups instantly. If you don't drain the belt first, the Blue cups will trickle out one by one, which is slow and frustrating.
Conserving Clicks
Every tap is a decision. Don't tap just because you are impatient. If the belt is full, wait. If the nozzle is pouring Orange, don't tap White (unless you are pre-loading). Unnecessary taps are the number one cause of "Slot Overflow." Be deliberate. Be precise. One tap is often enough to send a cup; you don't need to double-click.
The "Nose" Watch
The nose is the smallest part of the Husky, but it causes the biggest headaches. It fills up incredibly fast. When you are in the final phase with the Red cups, keep your eyes glued to the nose. As soon as you see a single pixel of Red fill the nose, stop tapping Red. It is better to under-pour and add a drop later than to over-pour and have to wait for the whole cup to cycle.
Understanding Hitboxes
The hitboxes on the glass blocks can be finicky. If you tap a cup and the glass block doesn't crack, try tapping the cup on the *opposite* side. Sometimes the damage calculation requires a specific adjacency to register a hit on the block. Don't panic if the first tap doesn't break the glass; just adjust your angle.
Common Mistakes to Avoid
Even experienced players fail Level 92 due to these specific errors. Learn what not to do before you make the mistake yourself.
The "Spam Click" Trap
This is the most common error. Players see a stack of 10 Orange cups and click 5 times in a row. This sends 5 cups to the belt. But the belt only has 5 slots. Now your belt is 100% Orange. The nozzle moves to the White side of the face, but there is no White paint. The nozzle waits. The timer ticks. You lose. Never spam clicks. Always leave room for the opposite color.
Ignoring the Nozzle Position
The nozzle tells you what color it *needs*. If the nozzle is hovering over the White (Left) side of the face, and you are tapping Orange cups, you are actively working against yourself. While you can't control the nozzle's movement, you *can* predict it. Anticipate where the nozzle will go and have that color ready on the belt. Ignoring the nozzle's position is a guaranteed way to slow down your run.
Early Red Activation
Because Red cups are often adjacent to the "6" crate, they sometimes become accessible slightly before the Blue cups. The temptation is to clear them to get them out of the way. **Don't do it.** If you send Red cups up before the face is done, they will reach the front of the line. When the nozzle needs White or Orange, it will be blocked by the Red cup. This causes a massive traffic jam. Leave Red for the absolute end.
The "99%" Fail
This is the most heartbreaking way to lose. You have painted the entire face and background. You have 3 seconds left. You tap the last two Red cups to finish the nose. But the nose was already 99% full. The first cup finishes the nose and leaves 90% waste. The second cup sits on the belt. The time runs out. You lose by 1%. To avoid this, stop tapping when you are at 90%. Let the paint settle.
Misjudging the "6" Crate Timing
Breaking the "6" crate releases the floodgates. If you break it while your belt is at 4/5 capacity, the Blue cups will spill out but have nowhere to go. They get stuck in the tray's "exit pipe," preventing you from tapping anything else. You are stuck watching a full belt slowly drain, unable to interact with the game. Always ensure you have 2+ empty slots before dealing the final blow to the "6" crate.
Panic Tapping
When the belt gets full, the natural instinct is to panic and tap faster to "fix" it. This is the opposite of what you should do. If the belt is full, the solution is to **stop tapping**. Let the physics engine do its work. Let the paint pour. Clear the bottleneck. Adding more cups to a full belt only creates a permanent deadlock.
Stuck Solutions & Speed Run Tips
If you are struggling to beat the clock or find yourself constantly stuck in a loop, these advanced strategies will help you optimize your run.
Stuck? Soft Reset the Tray
If you feel like you have made a mistake early on (e.g., you tapped too many Oranges) and the belt is permanently clogged, don't finish the level in agony. Pause and restart (Soft Reset). It is faster to restart and get a clean start in the first 10 seconds than to struggle through a broken inventory for 2 minutes. Learning to recognize a "failed run" early is a skill in itself.
Speed Run: The "Double Tap" Start
For speed runners, the opening moves are critical. You can shave off 2 seconds by using the "Double Tap" start. As soon as the level loads, double-tap the loose Orange cups *and* the first White cup simultaneously. This sends three cups to the belt immediately. It risks an early clog, but if you maintain the alternating rhythm perfectly, it gets the paint flowing much faster than a conservative start.
Speed Run: Pre-Loading the Belt
While the nozzle is pouring a slow color (like the end of a Red cup), use that downtime to pre-load the belt. If the nozzle is busy, tap the next 2 colors you need (e.g., Blue and White) and get them sitting on the belt. By the time the current cup finishes, the next color is already at the front of the line. This eliminates the "wait time" between cups.
Shortcut: Skipping the "3" Blocks
The guide suggests breaking the "3" blocks early, but for advanced players, there is a shortcut. If you tap rapidly and rhythmically on the *edges* of the tray, you can sometimes clear the face cups without ever fully shattering the "3" blocks. They will get pushed down and out of the way. This saves you the time of waiting for the glass shatter animation. However, this is high-risk; if the blocks don't move, you are stuck.
Optimizing the Blue Flood
The fastest way to clear the Blue section is to tap all available Blue cups in a single burst, but only if you have an empty belt. If you can time the breaking of the "6" crate with a moment when the belt is completely empty, you can unleash a "Blue Flood." Tapping 4 Blue cups in 1 second sends a wave of sand that fills the background almost instantly. This is the fastest way to clear the level, but it requires split-second timing.
The "Left-Right" Flick
Instead of tapping individual cups with your index finger, try placing two fingers on the screen (or hovering your mouse) between the two stacks. Flick back and forth: Left Tap, Right Tap, Left Tap. This physical movement helps enforce the rhythm. It prevents your brain from focusing on one side too long. It turns the level into a rhythm game rather than a puzzle game, which often leads to faster completion times.